


 In-depth articles, series and guides
 Back to Basics
Part of The Back to Basics Series
The email client space is dominated by apps like Spark, Superhuman, Edison, Mimestream, and more, some of which charge an absurd amount of money to help you read and process emails — like $30/month.
While these apps have niche workflows and perks that make them indispensable for some people, the stock Mail app on Apple devices is good enough for most of us.
It's free, bundled with all Apple devices, and supports many modern email workflows needed today.
In this guide, I'll show you how to leverage the stock Mail app for trivial to complex email workflows, with real-world examples.
Even if you've already been using Mail, you'll learn obscure shortcuts and workflows (even using email templates) to help you use this app more fine-tuned to your requirements.
Let's start by:
Setting up your emailing workspace
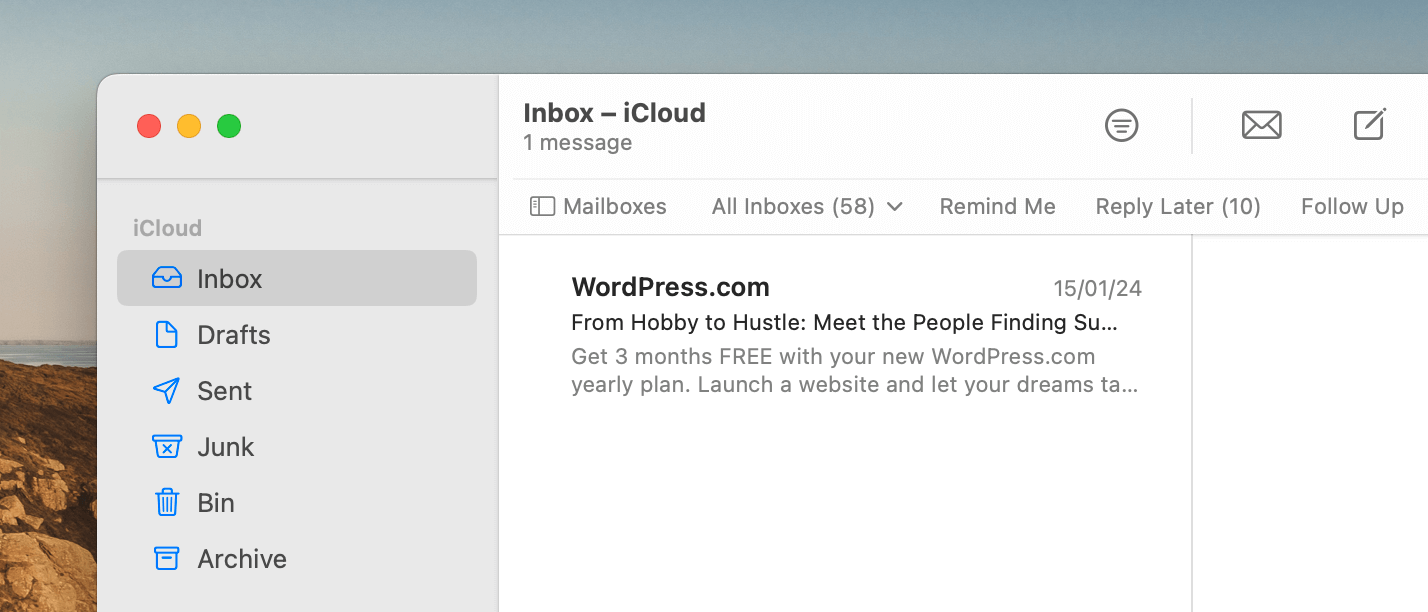
If you have an iCloud account signed in on your Mac, iPhone or iPad and have iCloud Mail turned on, the Mail app will automatically set up this account for you.
You can see your iCloud Mail account ready to send and receive emails the moment you first open the Mail app:
But many of us don't use an iCloud Mail account.
Like other email clients, the Mail app allows signing in with various email providers, such as Google, Microsoft, Yahoo, etc., while adding a new mailbox in Settings → Accounts:
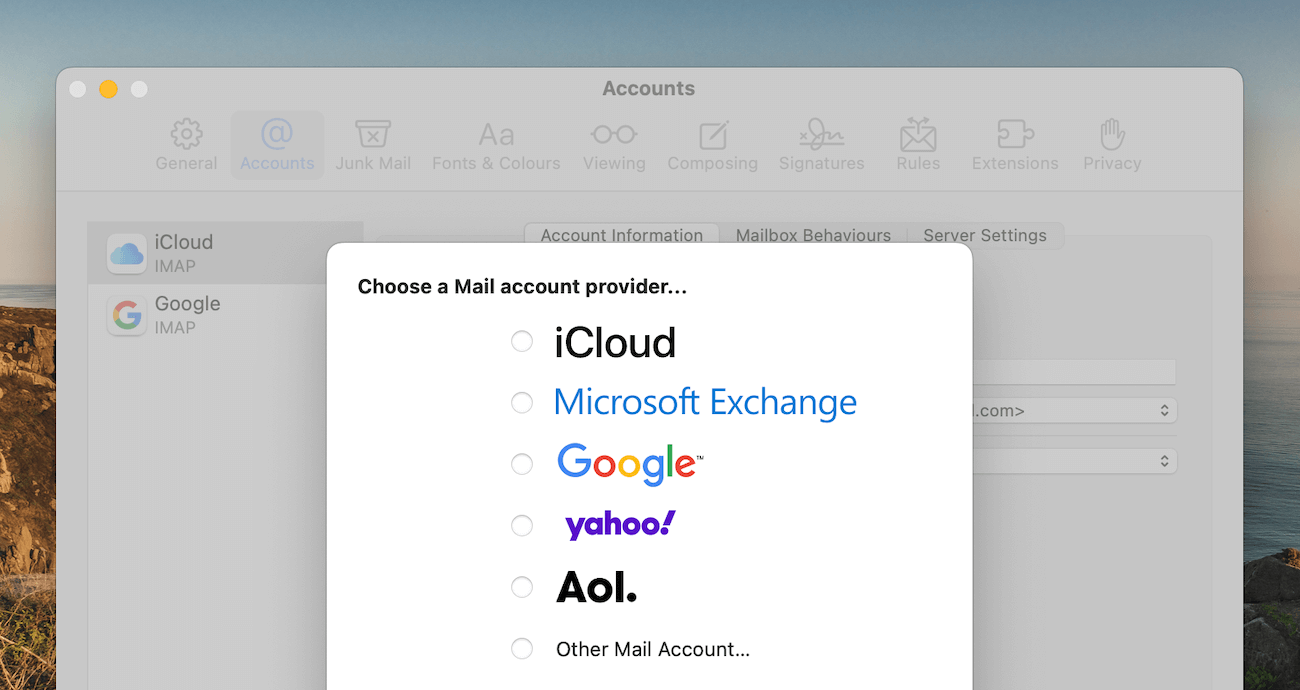
Now, you might be using an email platform such as Fastmail, which doesn't appear on this list. But that's not a dead end.
For such platforms, you can either refer to their automatic setup guide, like Fastmail's or add an account yourself by choosing Other Mail Account in the account setup popup.
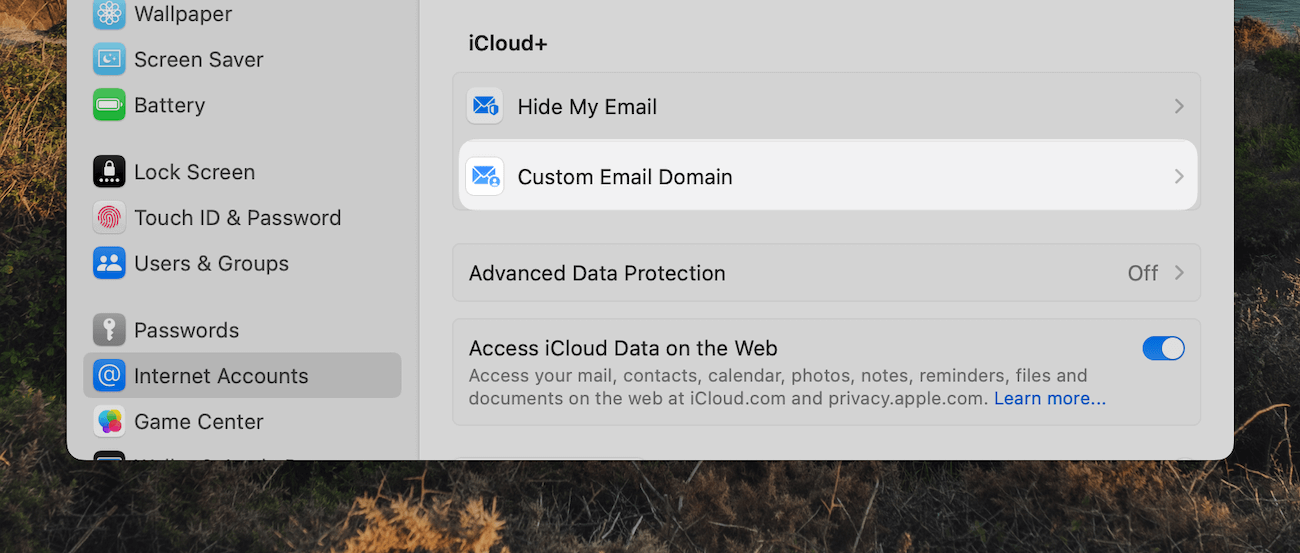
Also, if you're already using an iCloud+ subscription and need an email address for your business or personal domain name, you can have one at no additional charge via iCloud Mail custom domains.
You can set up to five custom domains for your iCloud email under Settings → Internet Accounts → iCloud → iCloud+ → Custom Email Domain:
On an iPhone or iPad, you can do the same under Settings → Apple ID → iCloud → iCloud Mail → Custom Email:
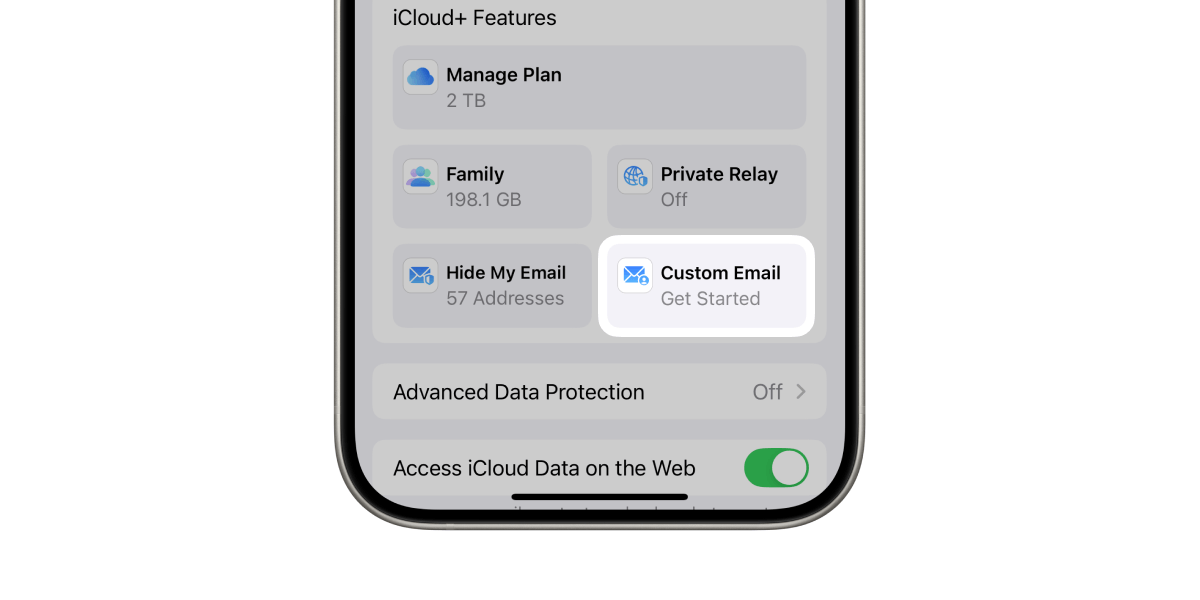
This is fantastic because if you just need an email address for your business, you can skip paying for a Google Workspace or Fastmail account and leverage your existing iCloud subscription to create custom email addresses like john@acme.org.
Also, unlike a Gmail account on the Mail app, iCloud Mail fits better with the Mail app in delivering new emails via push notifications.
This means that instead of the Mail app on your device checking for new emails every 15 minutes or later, you get real-time email notifications as they come.
Not having push support for personal Gmail and entry-level Google Workspace accounts is something I miss in the Mail app.
On many occasions, I've received notifications for important emails later than I wanted to because the Mail app didn't check for new emails fast enough.
The frequency is better on a Mac because it allows us to automatically refresh our inboxes every minute under app settings:
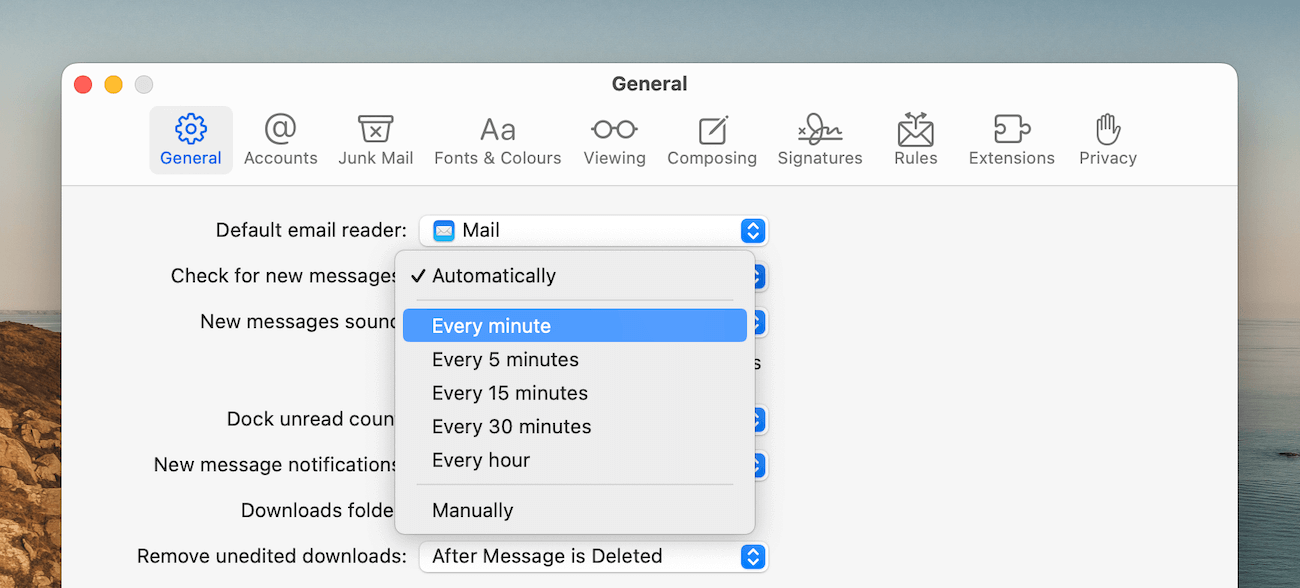
But the caveat here is that if your Mac is not plugged in, this could quickly drain your battery.
Now, iCloud Mail is not the only provider that supports push notifications. Fastmail is another example.
When you set up a Fastmail account on your iPhone via their auto setup guide, it automatically configures the Mail app to receive new emails via Push and not Fetch.
Now, with email accounts set up, the next step is to ensure that your mailboxes are correctly mapped to the Mail app's folders.
We can do this by going to Settings → Accounts → Mailbox Behaviours:

Usually, the Mail app is smart enough to figure out the correct mapping for you automatically. But in case any of your mailboxes, such as All Mail in Gmail, is mapped to something else on the Mail app, you can change that by clicking the dropdown and choosing the correct mailbox:
This will ensure that when you archive an email, it goes to the All Mail folder in Gmail, not somewhere else.
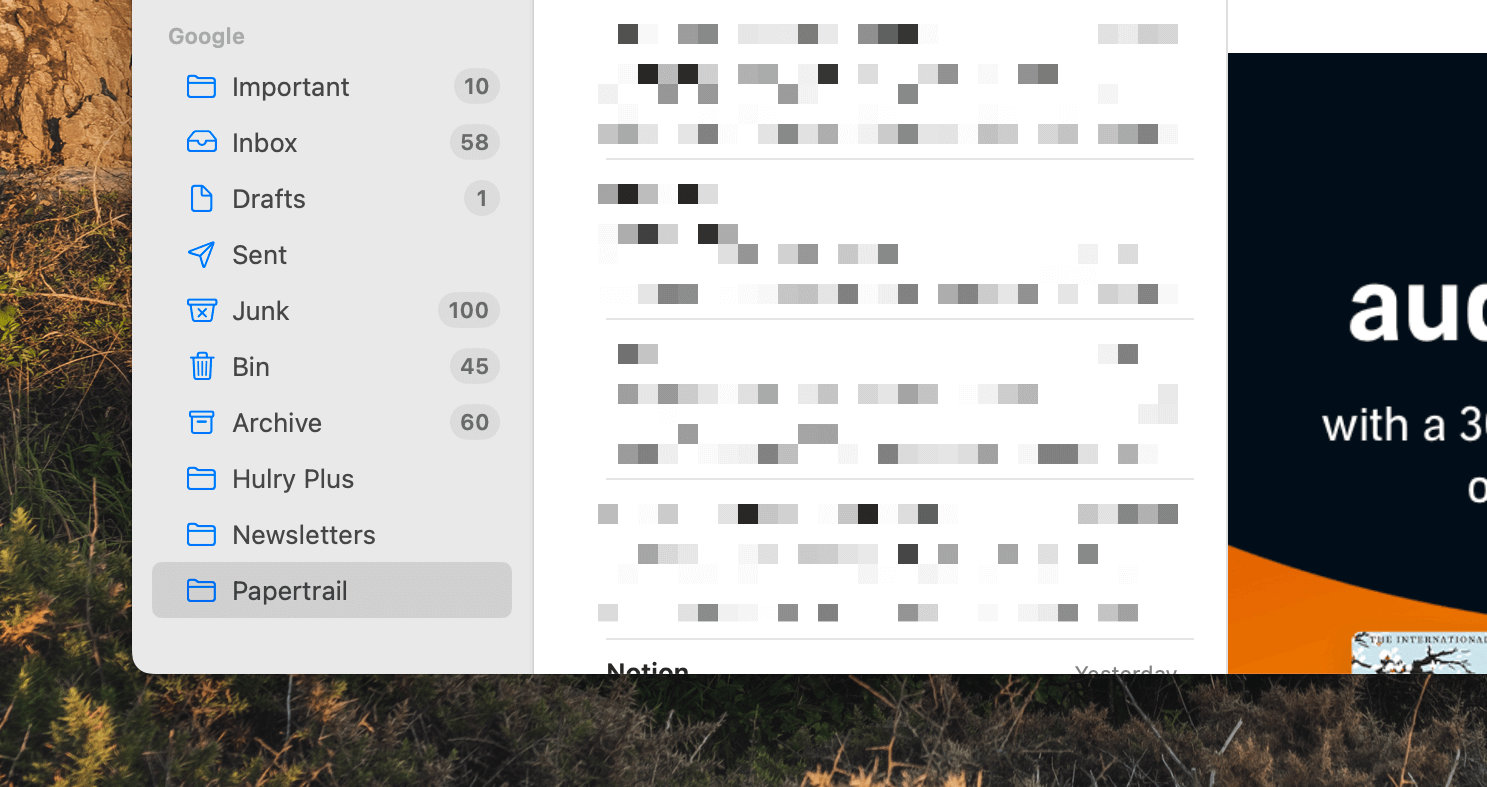
Speaking of mailboxes, I use a couple of labels in Gmail to mark incoming receipts, transaction emails, newsletters, etc.
For example, I have a label called Papertrail, which shows all transaction emails, payment receipts and invoices I receive in bulk every day.
Since these emails don't make it to my inbox, I check this label 2–3 times a week to ensure I don't miss any information communication from my banks and other services.
While I could access this label from the Mailboxes sidebar in the Mail app:
The Mail app allows pinning mailboxes to a favourites bar:
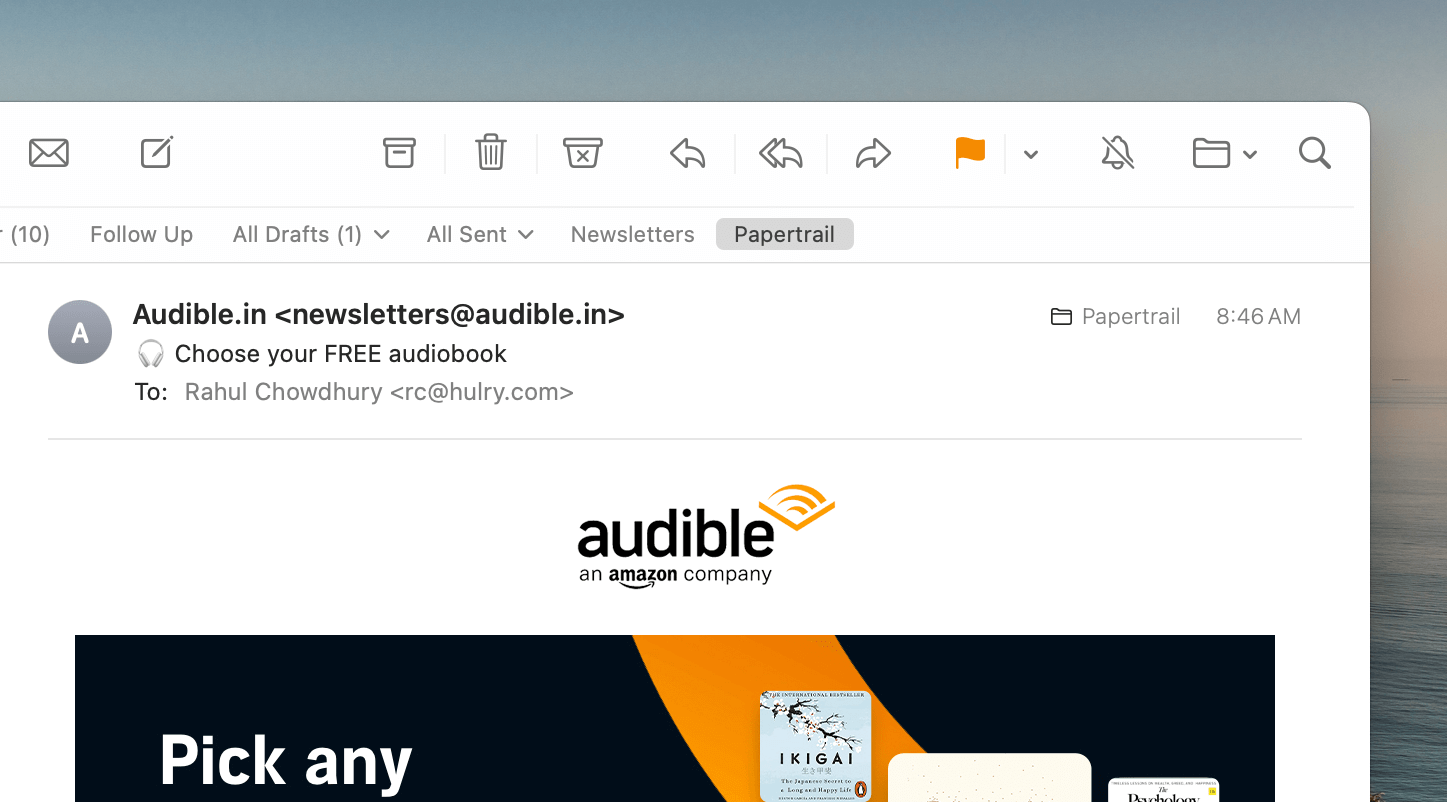
If you don't already have this bar visible, you can turn it on under View → Show Favourites Bar.
Then, you can drag and drop your frequently accessed labels from the Mailbox sidebar to this favourites bar to pin them here:
You can now browse all emails marked with your frequently used labels with a click.
This gives you a productive workspace to access specific emails as needed quickly.
Now, email signatures are a crucial part of outgoing emails because these are equivalent to a personal seal or a business card.
Thankfully, the Mail app has excellent support for designing rich email signatures.
Let's create a signature via Settings → Signatures.
Clicking on the + button adds a new signature to the list of available signatures:
Once added, you can use the editing pane beside a selected signature to design it:
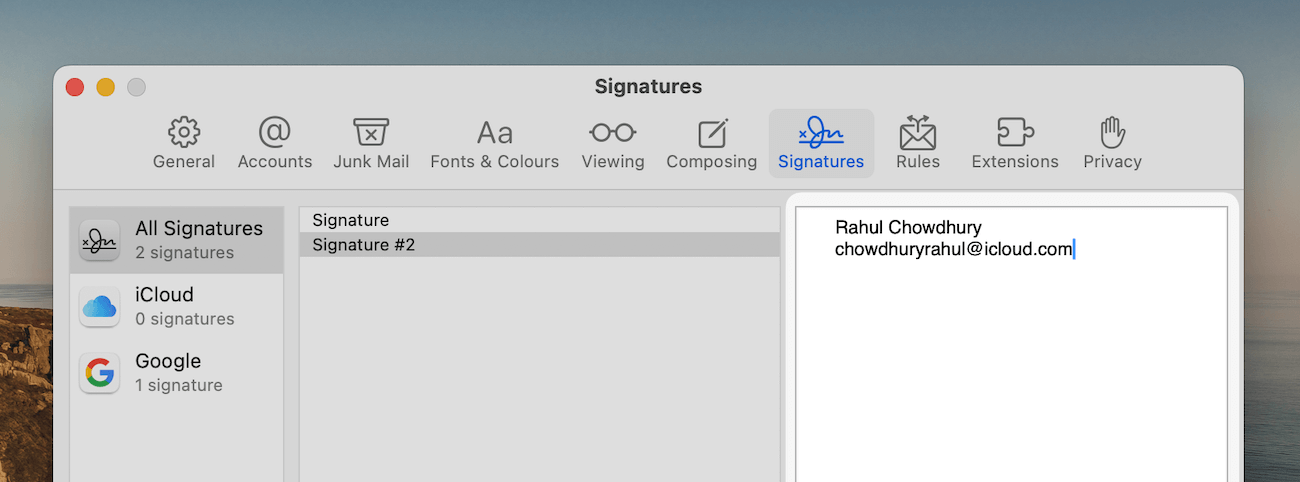
The signature editor might look like a simple text box, but it supports rich text formatting.
So, you can select a part of your signature and make the text bold or italic by pressing ⌘B or ⌘I:
Add links to your website or a contact form by selecting text and pressing ⌘K to open an insert link popup:
Have your name stand out from the rest of the signature content by selecting it and pressing ⌘+ to make the font bigger:
Align parts of the signature, say, your telephone number via Format → Alignment.
Create a hierarchy by pressing the Tab key:
Fade a portion of your signature and make it subtle by selecting the text and choosing a colour via Format → Show Colours:
Or, to have a more personal touch, you can drag and drop your profile photo onto the signature editor to add it to your signature:
The editor doesn't have resizing options for an attached photo, so you must resize it to smaller dimensions, such as 200px X 200px, before dropping it on your signature.
Otherwise, your profile photo might take half or more of your emailing space.
Now, you need to associate this signature to a mail account by dragging and dropping a signature to an account:
Then, explicitly choose this new signature every time you send a new email from the Signature dropdown in the compose window:
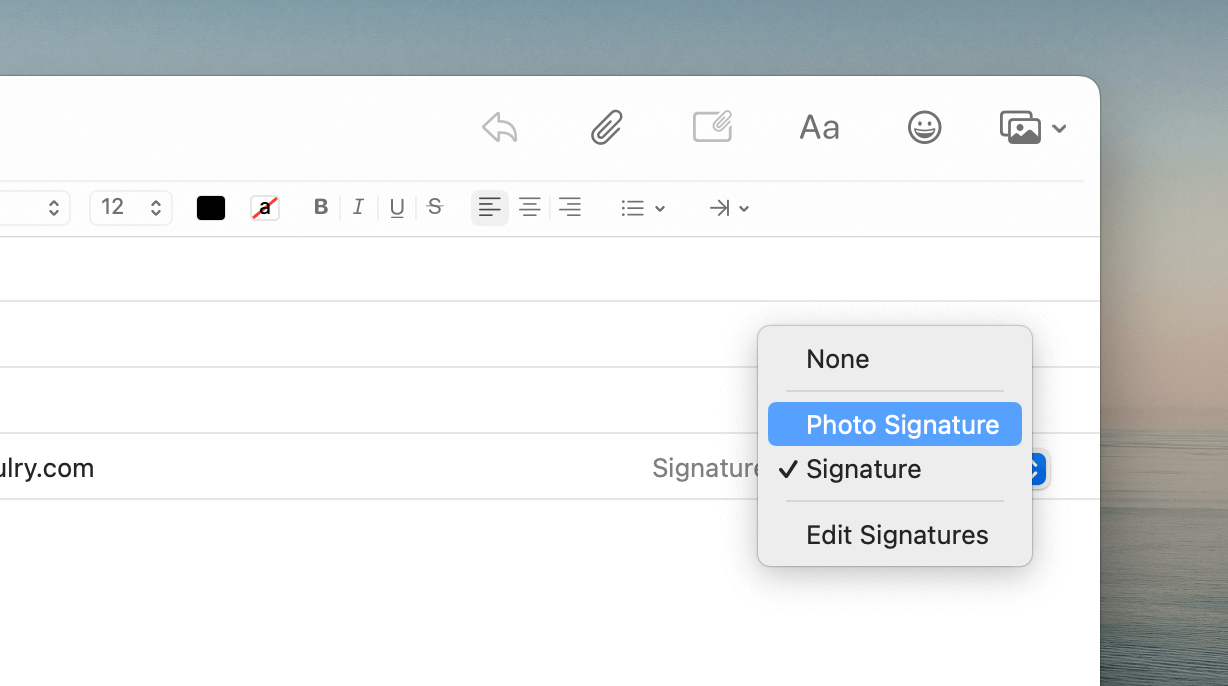
But a better approach is to set a default signature for each of your added accounts by selecting an account in the Signatures settings and choosing a signature from the Choose Signature dropdown:
With a default signature, every time you compose a new email with this account, Mail will automatically append your signature to the email body.
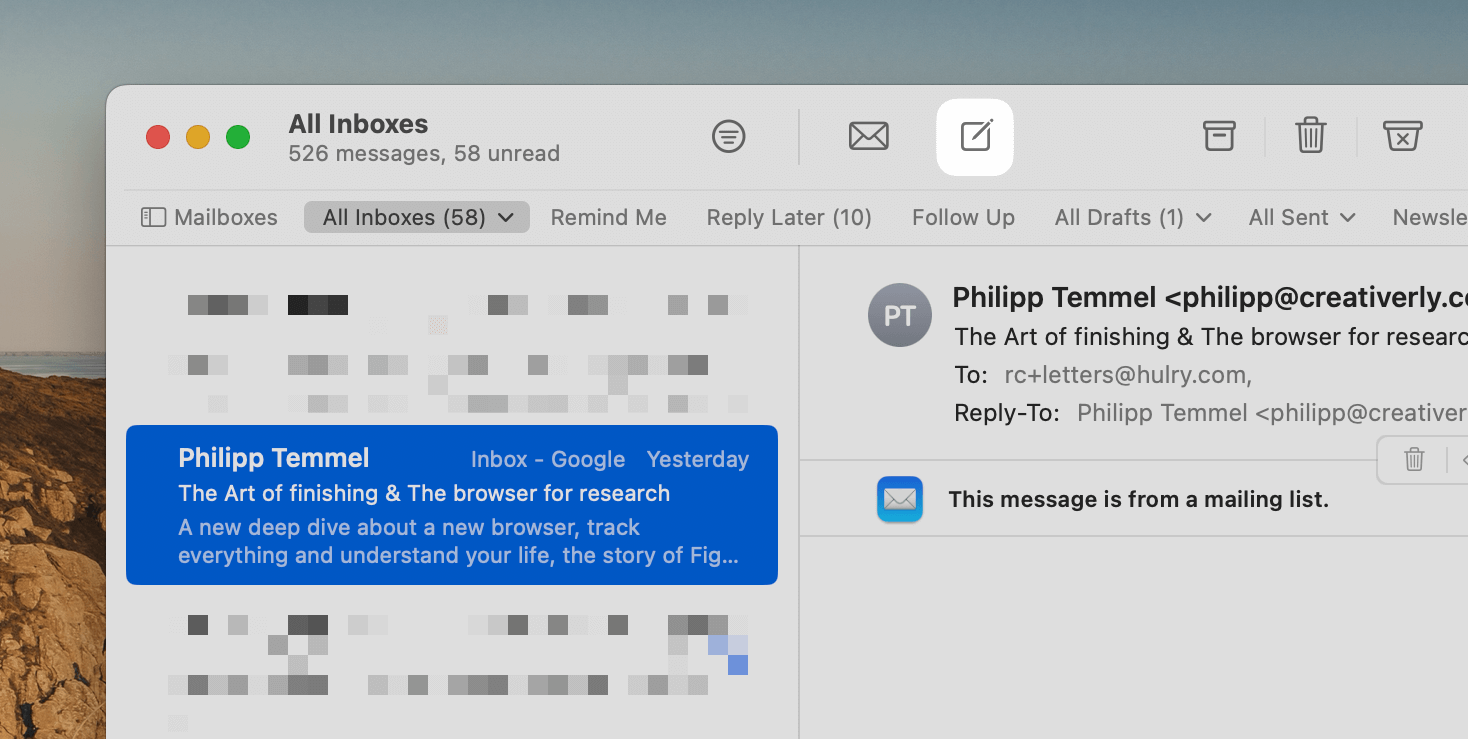
Now, as you email back and forth, each conversation thread will have many emails scattered throughout your inbox.
Most modern email clients solve this problem by grouping emails across a conversation into a single browsable unit.
And so does the Mail app.
Each thread which has one or more replies shows an arrow beside the email preview like this:
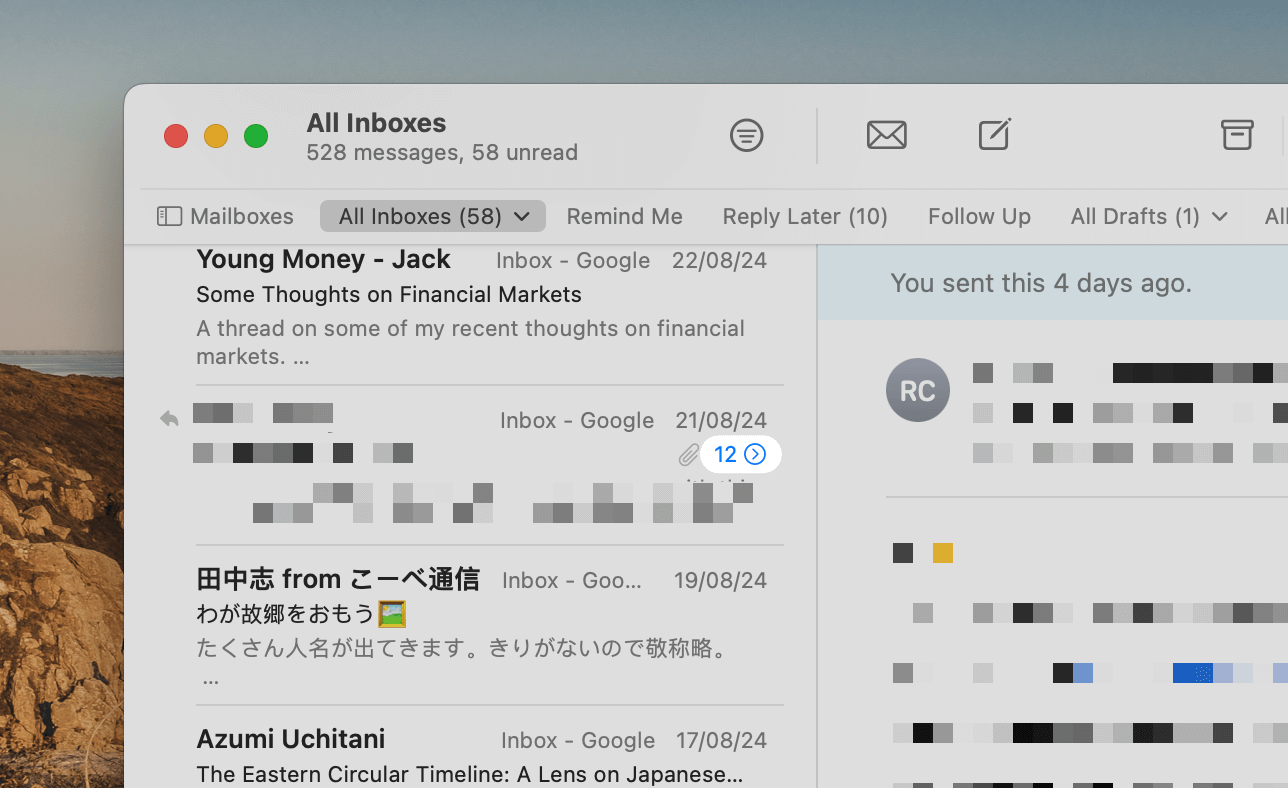
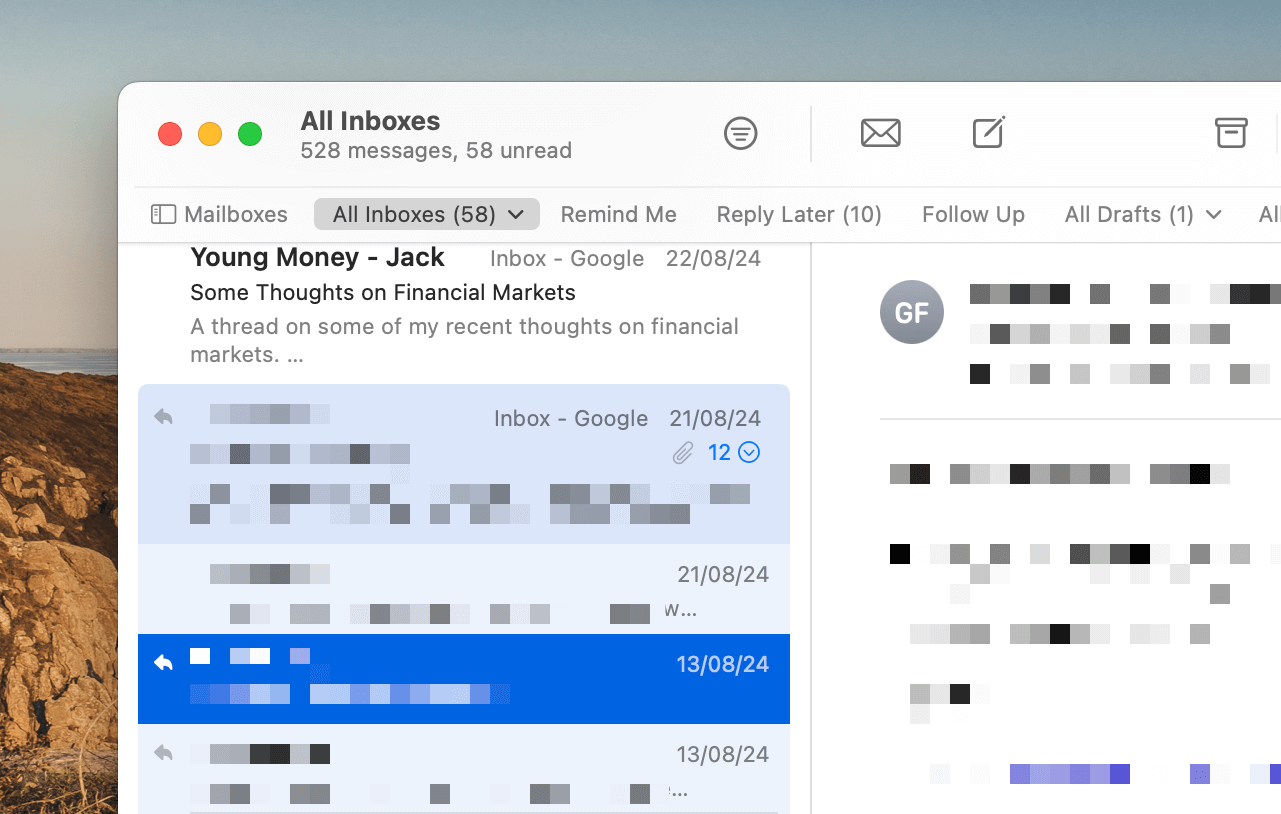
Clicking on this arrow expands the thread to show all incoming messages part of this thread.
You can then click on a particular message from the thread to jump to it:
And this works on an iPhone and iPad, too.
Tapping on the arrow beside the email list item expands the thread into a highlighted unit:
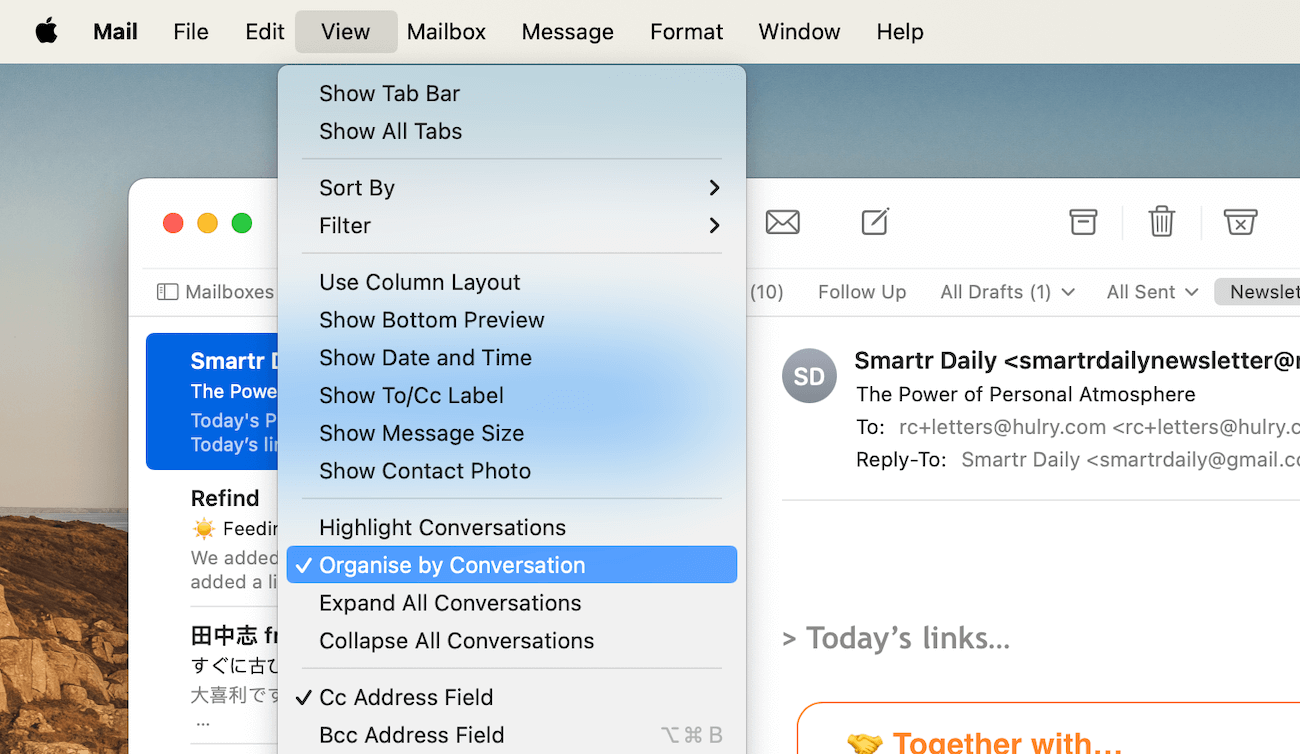
If conversations are not automatically grouped for you, and you see messages from the same thread scattered across your inbox, you can set it via View → Organise by Conversation:
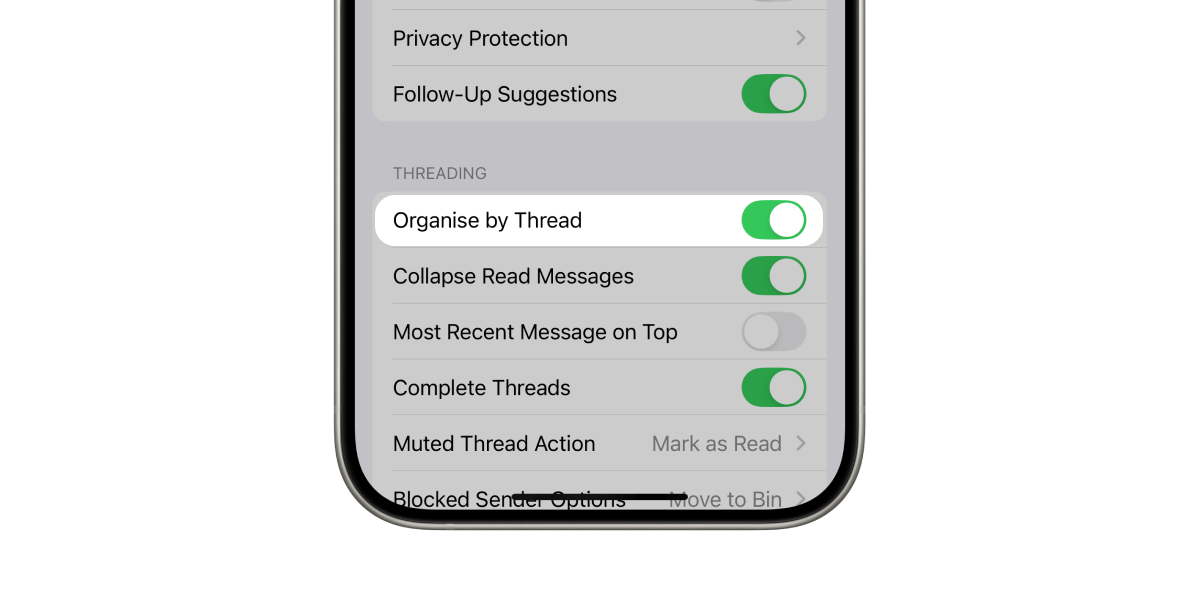
On an iPhone or iPad, going to Settings → Apps → Mail → Organise by Thread does the same:
So, now that you have your email workspace set to receive and send emails and organise incoming emails to some extent, here's how you can:
Quickly send well-crafted emails
The obvious way to compose a new email is to open the Mail app and press the Compose button:
But you can click on any hyperlinked email address you come across on a website, message or note to open the new email composer already pointed to that email address:
A quick way of starting a new email with a file or a photo already attached is by dragging and dropping it on the Mail icon:
You can now type in the rest of the email, add the receiving address and hit send.
On an iPhone or iPad, you can do the same by long-pressing a file or photo and sharing it with the Mail app:
This is handy when you already have a file handy and need to send it over via email.
Once you're in the compose window, the Mail app offers plenty of rich formatting options.
Let's explore the various formatting options by composing an example email from my workflow.