In-depth articles, series and guides

When working on articles for this blog or posts on social media, I often run into situations where I need to assemble a few existing or new files in my system for uploading.
These could be images and videos that I need to add to a blog post, such as this one, or a thread on social media.
Whether you're uploading images and videos or sharing a few files with your team or client, having a way to temporarily stash files for sharing is handy.
On macOS, we have a few ways to keep aside files we need to share in a unified cabinet, and I use all these ways based on the situation.
Let's start with:
The regular folder approach
An obvious way to gather a few files on your Mac to upload or share with another person is to make a new folder and dump everything there:
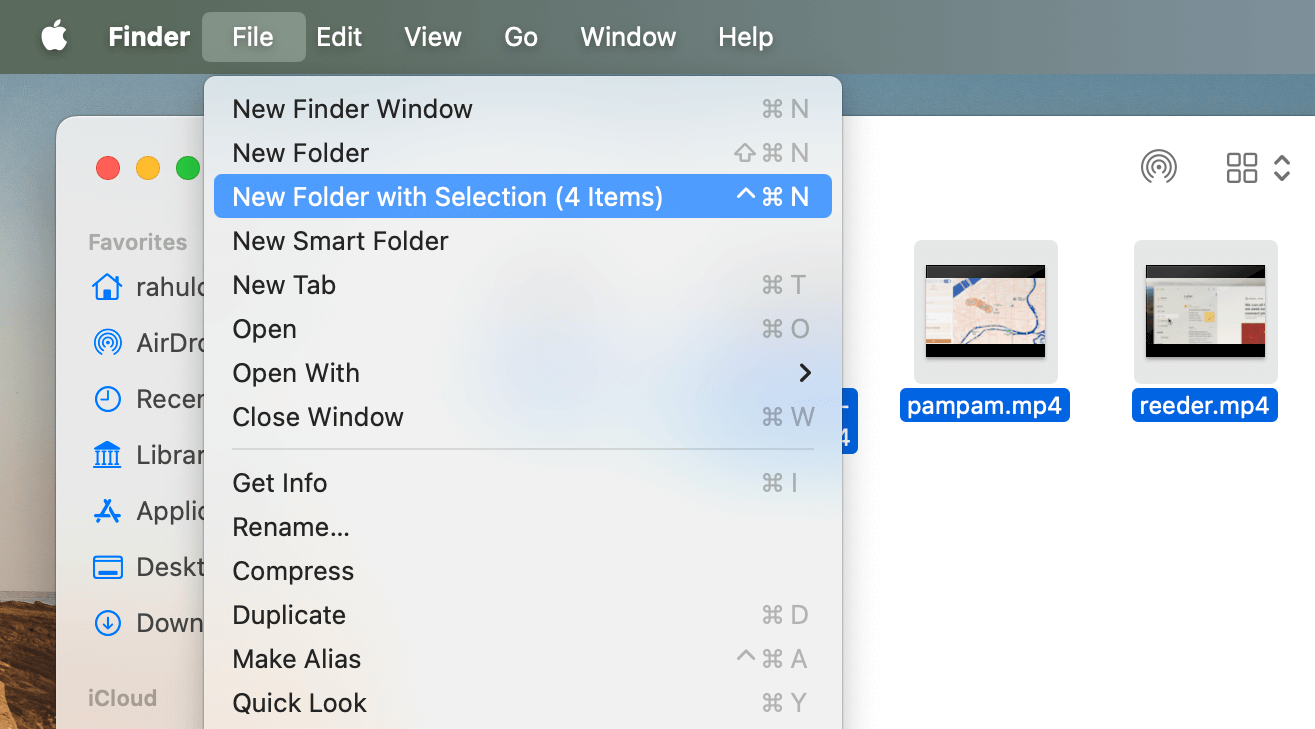
You can create a new folder and drag and drop or save files in it, or you can select multiple files and shift them to a new folder via File → New Folder with Selection:
This is fine when creating files for uploading that you haven't yet organised across relevant folders.
For example:
When writing the Back to Basics series, I had 100+ images and videos that I wanted to add to each article to illustrate my tips.
After writing the article, I reread the draft and recorded demos while reviewing the material.
When each asset was ready, I stashed it inside a new folder I had created for that article.
To make access to this folder easy from anywhere, I dragged and dropped the folder to the Finder sidebar to pin it temporarily:
Once I had added all the images and videos to the article, I moved the entire folder to an archive location in my iCloud drive for safe storage.
This is an intuitive approach to keeping aside files you need to work with or share in a single place for easy access when you need them.
But this isn't the best way to work with existing files that are logically organised based on your filing system.
There's a better way than moving files around folders and breaking existing organisation or making unnecessary copies — which can be a problem if the files you want to duplicate are large and you have less space on your Mac.
The first solution is:
Using a temporary holding shelf
Apps like Dropover and Dropzone offer a holding shelf where you can temporarily drop files you need to work with to keep them aside for later.
For example, using Dropover, you can select a file and shake it to activate a floating shelf where you can then drag and drop your selected files onto the shelf to hold them for later:
If you have files across folders, you can switch to a different folder and drag and drop files onto your floating shelf to add them to the list:
Dropzone works the same way, but instead of activating a shelf by shaking, you can drag and drop a file to the Dropzone menu bar app.
Once you have gathered all the files you need to share in an email or upload to a social media post, you can drag and drop files from your shelf onto the page as usual:
These apps only keep a reference to your files when you drop them onto a shelf and don't make unnecessary copies.
Now, while this technique works well, I'd only use it when I have less than 10 files that I need to work with.
Adding more files to the shelf gets messy, and I don't recommend this approach for a long list of files.
Instead, I use:
The Finder app’s tagging system
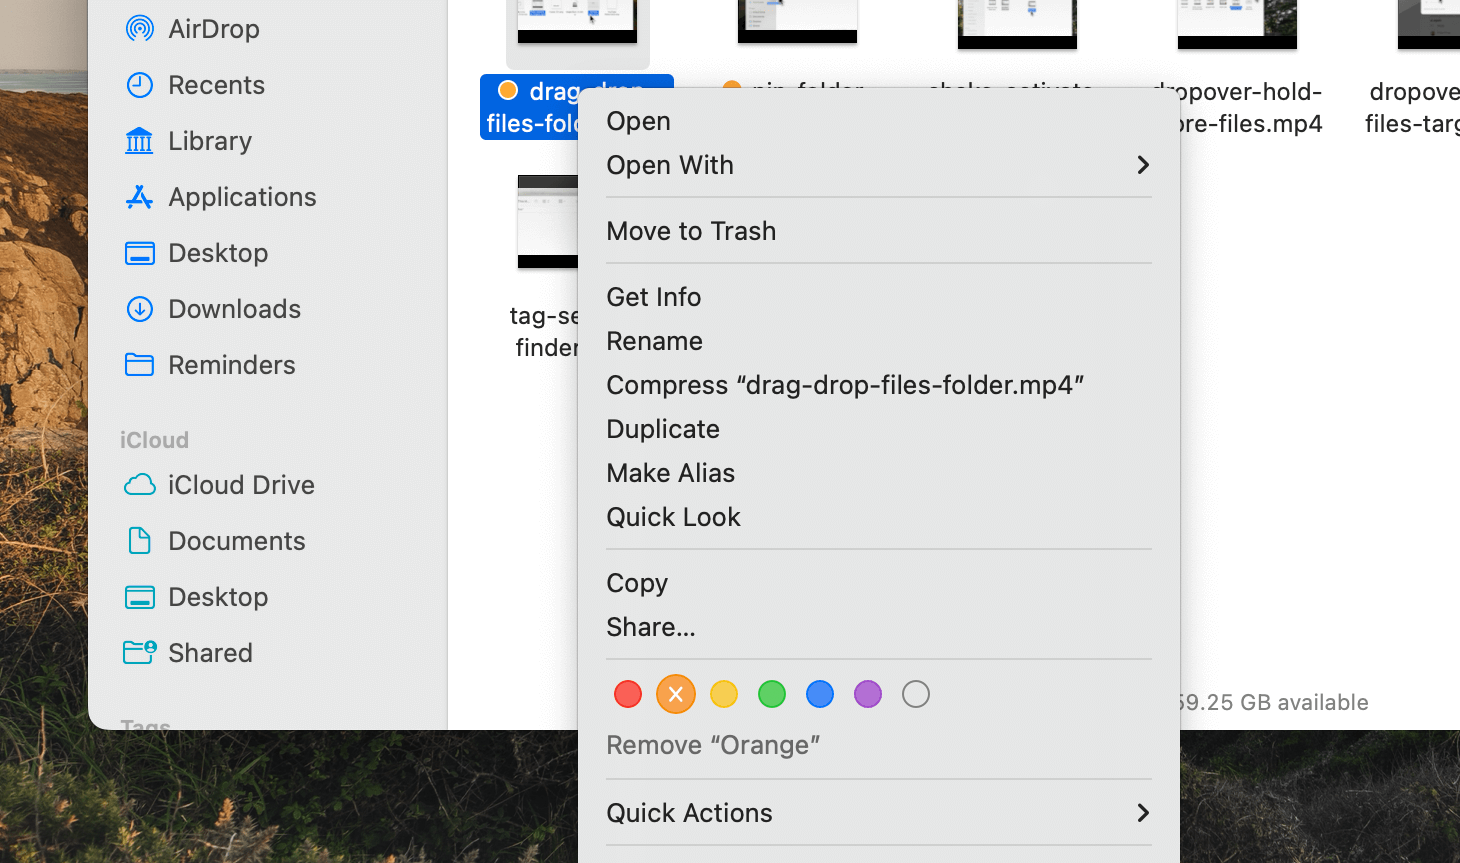
In the Finder app, we can tag a file with a specific colour by right-clicking it and choosing a colour to tag with:
We can tag as many files as we want across folders with a specific colour to set them aside for later.
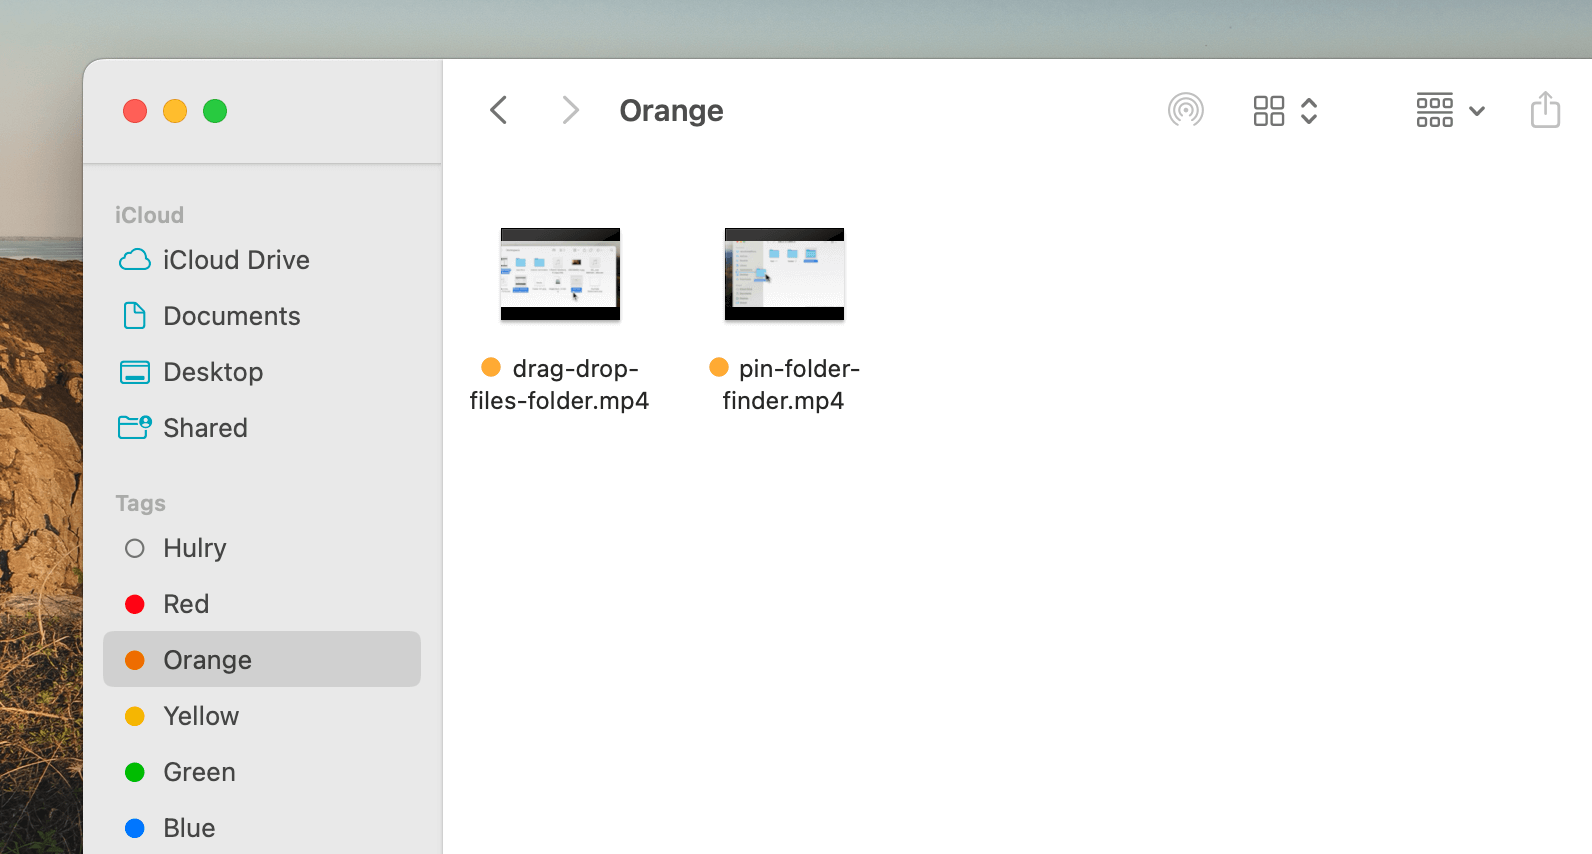
Once done, clicking on a coloured tag on the sidebar shows every file we have tagged with the colour:
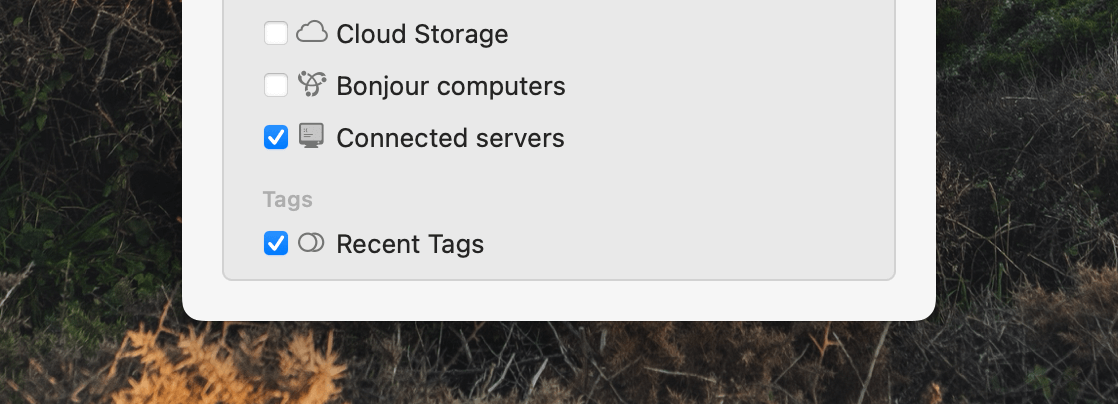
If you don't see the Tags section on your Finder sidebar, you can make it visible via Finder → Settings → Sidebar and checking the Recent Tags option in the list:
Or, you can search for a coloured tag in Finder's search bar to see all tagged files in the search results:
With this approach, you get a scoped view of all the files you need to send to someone or upload across folders in one place.
It's like creating a temporary folder without moving or copying files in your system or using any third-party app.
Once you've worked with the gathered files, you can either select all files and press ⌘⌥I to open a combined info panel and clear the tag from all selected files like this:
Or, you can right-click each file as you process them and remove the tag:
I often prefer the second approach while uploading files on a social media post or article because it clears my workspace as I upload and remove each file from my temporary stash.
If you prefer a meaningful name for your tags rather than Blue or Yellow, you can right-click a tag and rename it to something like “Keep Aside”:

Now, while most websites and apps support dragging and dropping files and images, many don't.
This is not a problem when using approaches 1 and 3 because with Approach 1, we can navigate to the specific folder in the upload window and attach the files.
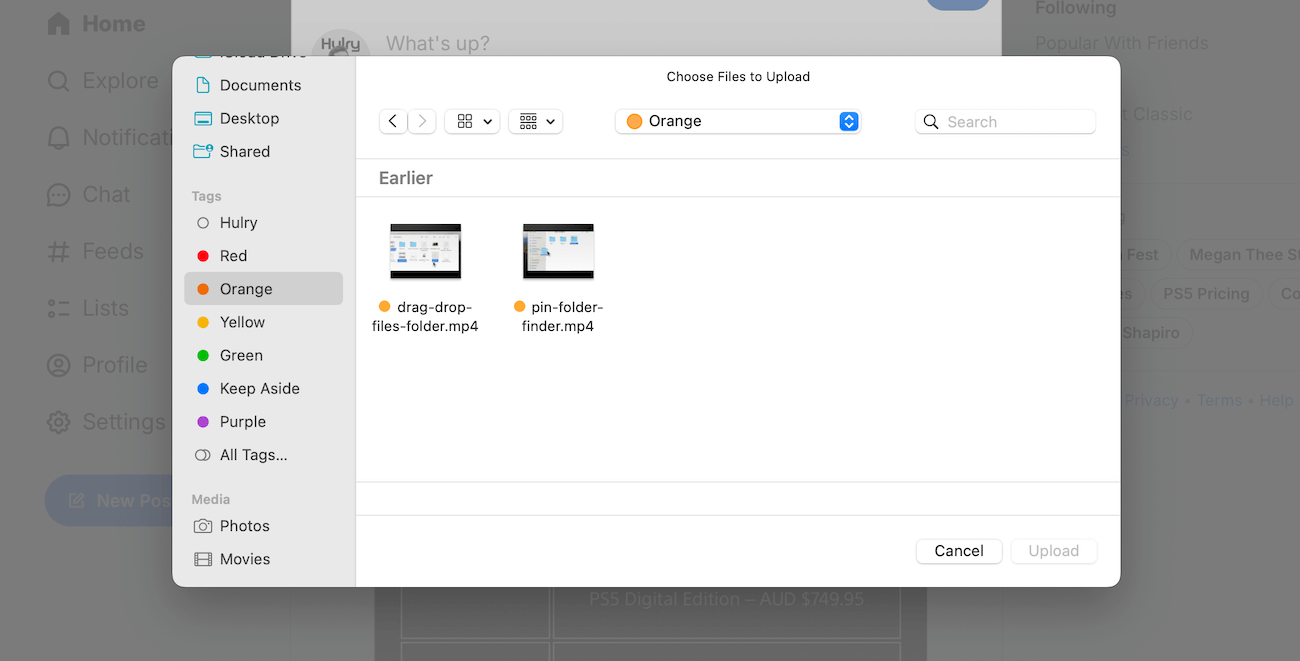
Similarly, with tagging, we can navigate to the tag and have all files ready for us to upload:
But, when using the temporary holding shelf approach, we must somehow drag and drop files from the shelf to the upload window because there's no folder location to navigate to.
We can do that:
Using Finder’s drag-and-drop capabilities
Whenever we open a regular browser upload window, it's an embedded Finder window that helps us choose a file from our system:
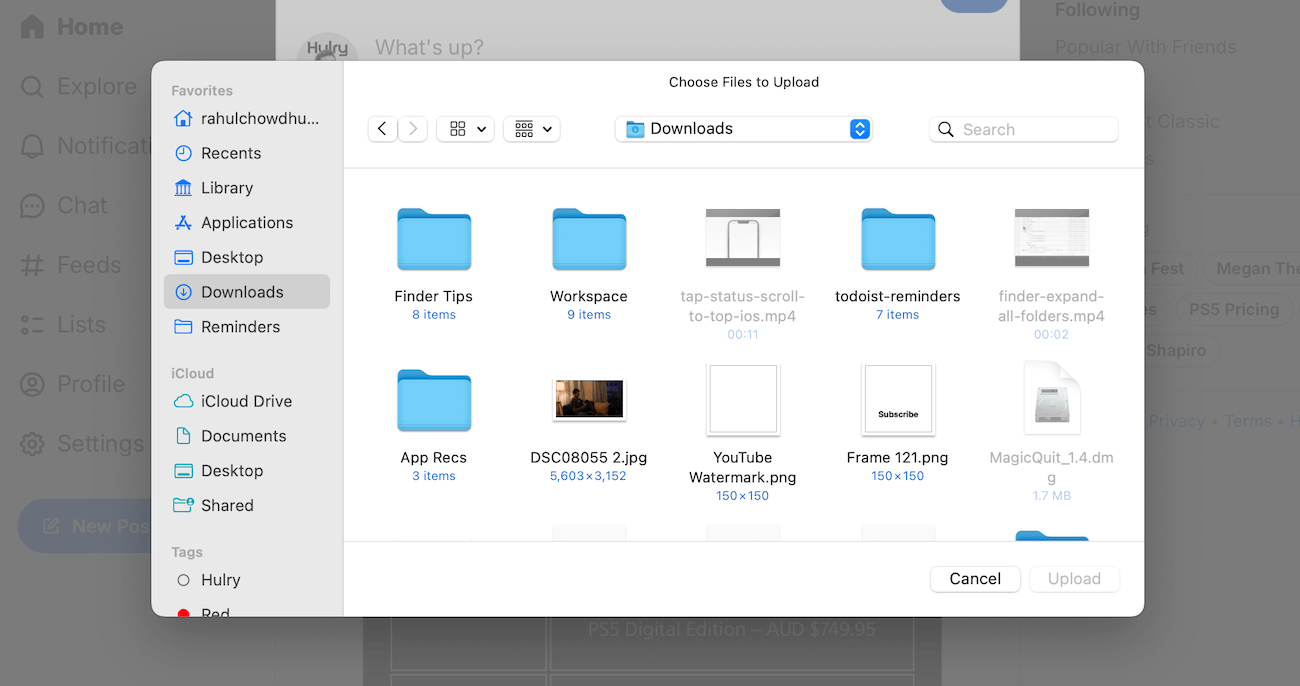
The best part about this is we can drag and drop files from anywhere in our system onto this tiny Finder window:
Once dropped, the Finder window navigates to the file location and has the file we dropped already selected for us:
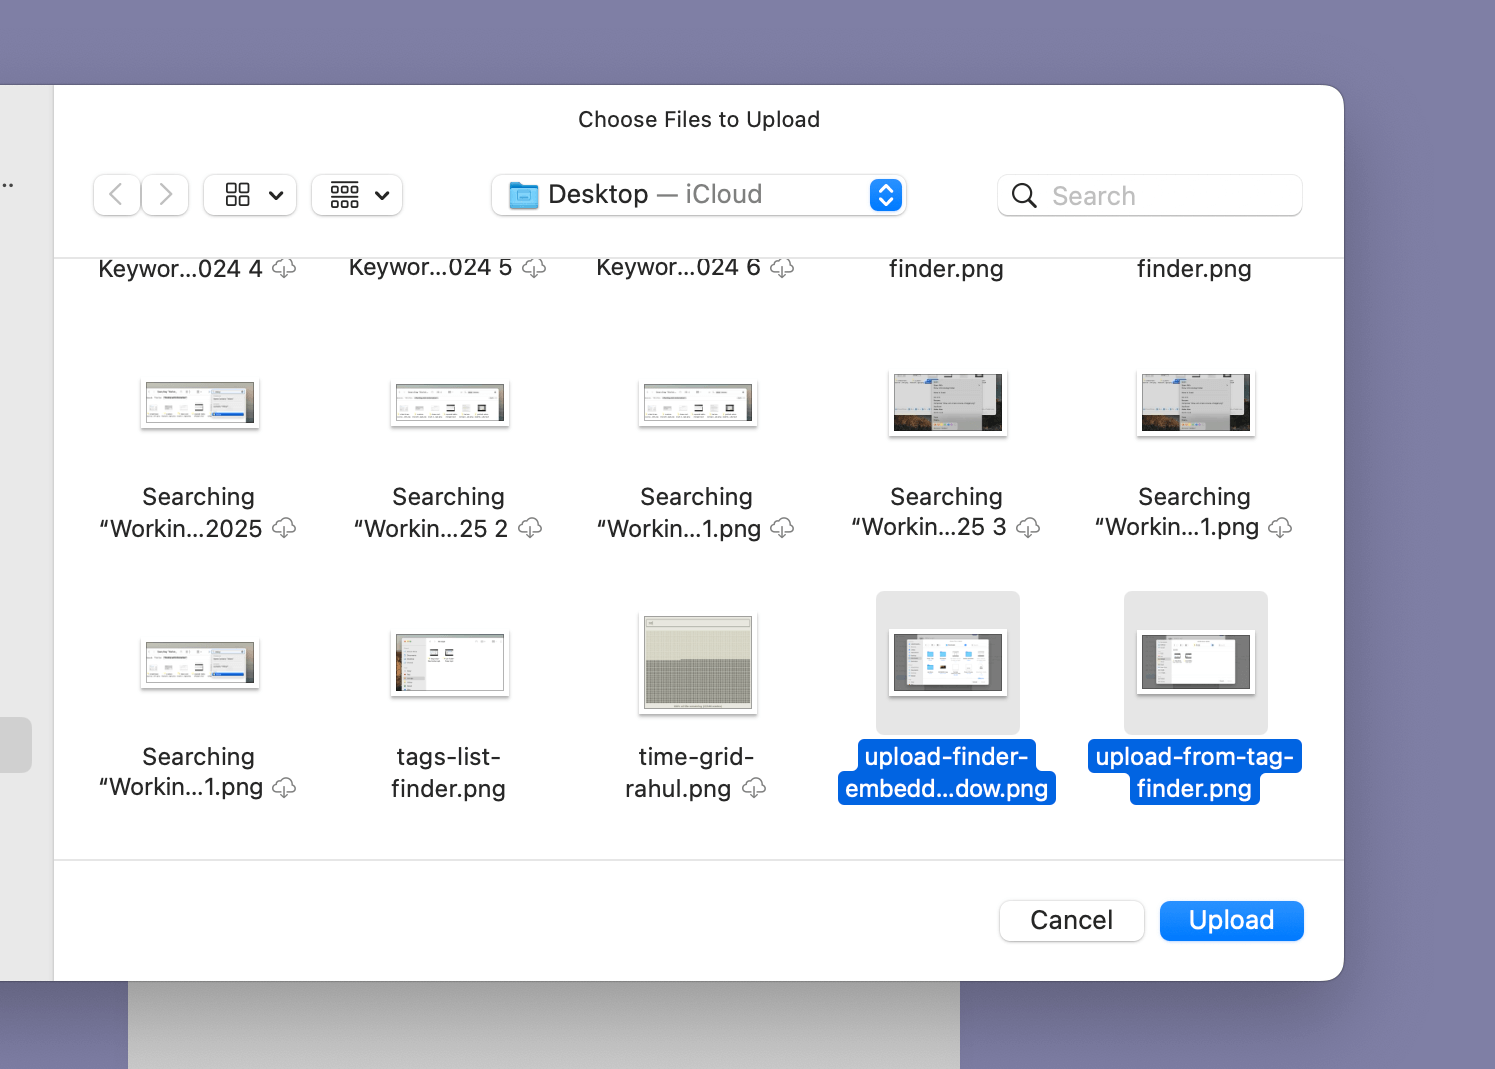
We can then click Upload to upload the dropped file to a website or app.
Et voilà!
That's all for now.
Try these approaches the next time you need to temporarily gather a few files on your Mac to upload, share or use in a project, and see which one works best for you.