


 In-depth articles, series and guides

I had an idea for a microblog last year while bingeing on posts from Daring Fireball, a blog I've been reading for some time.
What if I could start a Tumblr-style blog that would feature clips from the web that I found interesting?
No category in particular. Random interesting news, tools, or ideas.
The idea seemed feasible and a project that I could build in a short duration.
Four days later, I had a fully functioning microblog with an admin panel to write and publish clips on the go.
It's called Clipped.
Sounds intriguing?
In this blog post, I'll show you how I took this project from an idea to a finished product in less than a week.
Let's start with:
Day 1: Breaking the ground
Every project has some basic requirements and goals which can be factored in to make an execution plan.
And, Clipped was no exception.
So, here are some ground rules that I set before starting any work on it:
- Easy to work with. I wanted to create and publish clips from anywhere and on any device I had handy. It doesn't have to be a native mobile app, but it must work on mobile.
- Designed for readability. The clips needed to be presented in a well-formatted manner and easy to binge-read for anyone.
- Low or no cost to maintain. Being an experiment, I wanted this project to either run for free or for a marginal cost.
Nothing fancy. Some basic north-star principles to keep the project on the right track.
With these guidelines in mind, I started finding tools to help build this blog without wasting too much time.
Now:
In 2022, an obvious choice for creating blogs is choosing a content management platform like Ghost or WordPress.
And although they're both fantastic choices, they come with a recurring monthly hosting fee which I was trying to avoid.
Static sites like ones made using Gatsby or Nuxt can be hosted free of cost, but publishing content via Git and Markdown can be a hassle.
Especially when having blog posts with images.
Also:
I needed a way to create and publish clips from my phone on the go.
While mobile apps like GitJournal can help push changes to a Git repository and update the blog, the user experience isn't pleasant.
So, I kept looking for alternatives.
Further digging gave me the idea that I could connect Firebase with Gatsby to build the entire publishing workflow.
There were pre-made Firebase content-source plugins for Gatsby, which I could use with minimal configurations.
Also:
Firebase is free to start, and Gatsby-powered static sites are free to host on platforms like Vercel.
A win-win situation.
I went ahead and made the project official by registering the domain name clipped.blog on a Wednesday evening.
With the domain registered, I listed the primary tasks I needed to do to make this blog a reality:
- Connect Firebase with Gatsby to store and serve blog posts
- Create an admin panel to write and save new posts into a Firebase database
- Add a design to the public blog pages, like the home page and individual post pages
Of course, these tasks can be further split into granular ones.
But, this gave me a clear idea of the project's scope and everything I needed to do over the next few days.
Now:
Before moving full steam ahead, I decided to timebox this experiment.
Hulry being my primary focus, I didn't want to spend too much time on this side track.
Using the previous task breakdown estimates, I set a deadline to finish and launch this new blog by Saturday.
That's three days to go. Tight, but possible.
Day 2: Laying the foundation
It was Thursday morning.
Having blocked the domain and with a plan in mind, I started working on the core integration between Gatsby and Firebase.
Here's what I aimed for:
A primitive blog powered by Gatsby, using Firebase's Firestore as its content source.
No fancy admin panel. No stunning layouts on the blog. None of those fluff for now.
The goal was to get a set-up running where I could add some blog post data from the Firebase console and see it rendered on a barebones HTML page.
About an hour or two of misconfigurations, challenges and tinkering later, I had a working example of my idea.
The project was on the right track.
These early checkpoints of success or failure help course-correct projects before investing too much time and effort.
If this core setup didn't work, I would've had to pivot to another approach, which might have altered the further tasks I had already planned.
Here's a quick tip:
When starting a project, pick tasks that are out of your wheelhouse first.
With the foundational or unfamiliar challenges out of the way, the rest of the project becomes more manageable and faster to execute.
So:
Now that the barebones website was running, the next step was to find a platform to host it.
I had been using Vercel for quite some time for my other projects, and it seemed like the perfect candidate for this one too.
I pushed my newly minted site to the Vercel cloud and called it a day for this project.
Day 3: Building the publishing console
When building an app, a website or a project, we often overthink what we need to deliver right away.
For example:
While building the publishing backend for Clipped, I could've gone through the whole shebang of creating a posts list page, a publish page, and options to edit or delete posts.
But here's the thing:
Although these might seem pretty basic asks for a blog management backend, I didn't need all these functionalities.
I only needed a way to quickly write and publish clips from this backend app to the public website.
And this app should be accessible and usable from a mobile device.
Everything else was on the back burner.
I figured on the rare occasion I needed to edit or remove a clip from the site, I could use the Firebase console I had at my disposal.
Building these extra features on the publishing app right then would've taken extra time and pushed the deadline for no tangible benefits.
And I could always add more features when I needed them later.
So, to start, I built only two pages on this publishing web app:
- Login
- Publish a post
This is how the New Post page looks to date:
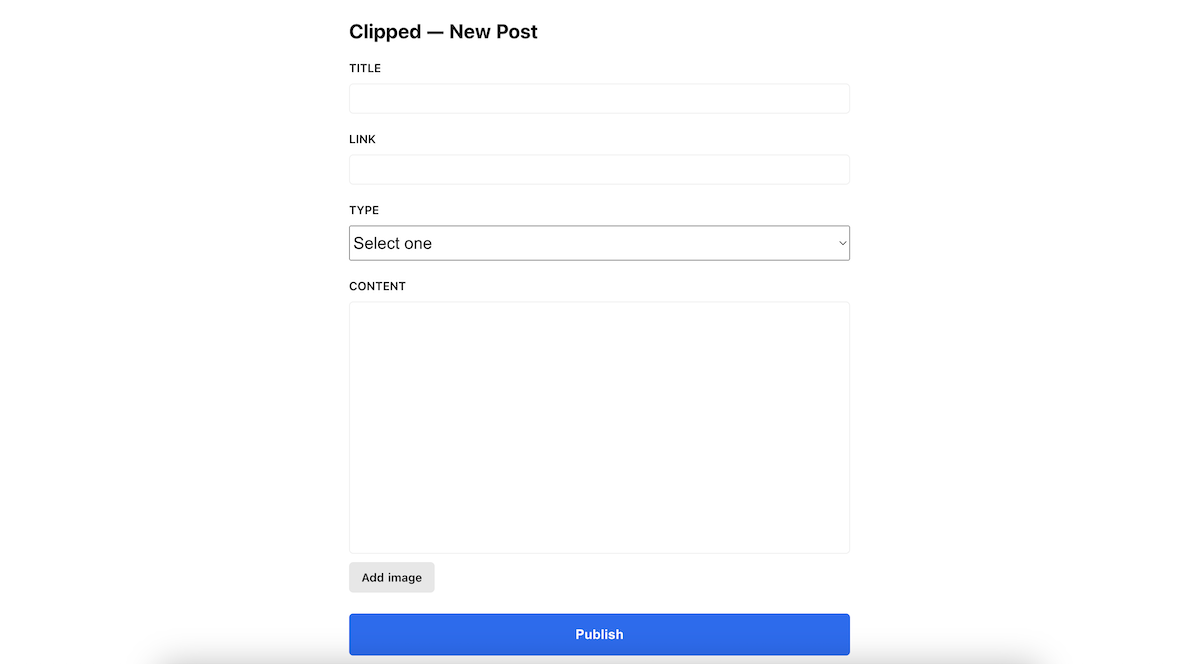
It barely qualifies as a blogging app, but it does the job.
With quick projects and experimenting with ideas, you have to learn to be lean.
While it's lucrative to build ambitious features or offers right from day one, you often need probably only 10% of your dreamed-up wishlist to get the ball rolling.
A lean product will help you get your idea off the ground in less time and leave plenty of room for feedback and improvement as you play around with it.
Deploying the bespoke publishing web app on Vercel, I ended the Friday on a high note.
I completed around 67% of the project in roughly two days.
I only had to design the blog pages to wrap this thing up.
Good progress kept the spirits high.
Day 4: Designing the blog
Saturday finally rolled in, and I had my first full day on this project.
I only had early mornings and evenings on the weekdays to work on this project.
So, this was a chance to get things across the finish line with a full day to spare.
But here's the thing:
I had a hazy idea of how I wanted the blog to look.
Being a fan of Daring Fireball, I wanted the layout to look like how the short posts were presented on that blog.
But I wanted to remix that layout and come up with something new.
After around 30–45 mins of pacing around the house and trying many variations of designs on my mind, I came up with a firm idea of what I should design.
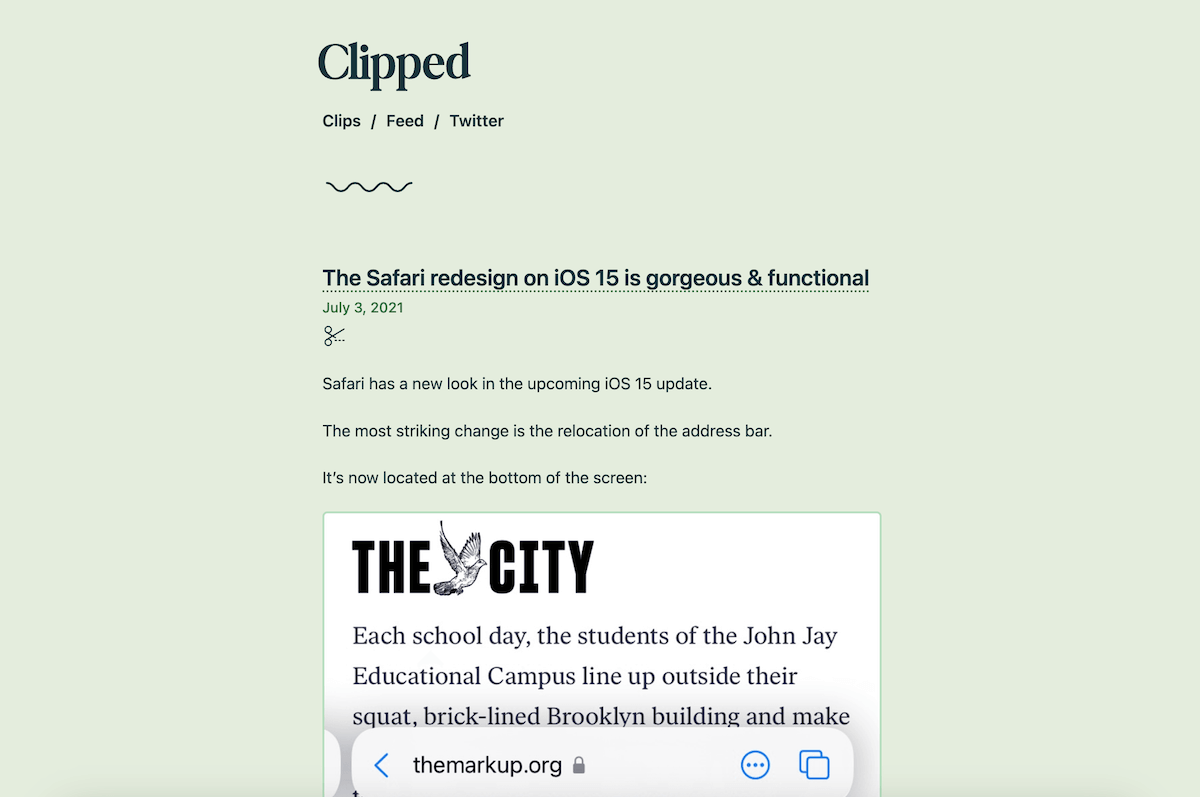
And then, a productive morning and afternoon of development later, I had Clipped in 98% of its final form:
Now:
Designing something from scratch can be time-consuming.
Here are some aspects that helped me speed up this process:
- Reusing layouts and design knowledge. I followed a similar layout style to my other projects and prior HTML & CSS knowledge, which gave me a head start on the design implementation.
- Using premade assets in the project. When I needed design elements like the wavy lines separator after every clip, I bought a premade one from a UI marketplace instead of trying to make it myself.
When trying to materialise an idea quickly, find pieces you can outsource and fit into your project like lego blocks.
Without the frameworks and resources I used for Clipped, I wouldn't have been able to finish it in under a week.
By evening that Saturday, I pushed the final version of Clipped to the web and announced it the following week on my Twitter profile:
Introducing Clipped ✂️ by @thehulry.
— Rahul Chowdhury (@chowdhuryrahul) April 27, 2021
A library of interesting clips from around the web.
While Hulry is focused on productivity, tech and personal finance, Clipped is random.
Around 3–4 clips a day. ⚡️
Check it out here ➡️ https://t.co/a4xLhsca5v pic.twitter.com/uOJ9cuTUd4
From idea to finished product in under four days. It was a wild and rewarding ride.
So:
If you've got ideas that you want to bring to life, here's how you can:
Go from concept to product in a flash
- Trim. Trim. Trim. Your product doesn't need to have every feature in your wishlist from day one. Reduce your scope of work wherever possible. A lean product idea will help you reach the early milestones without getting burned out or bored.
- Make a plan. List down everything you need to do to get to your first milestone and set a deadline. For example, I set a timeline to build a minimal version of Clipped in four days or less.
- Build with Lego blocks. It's 2022, and you don't need to build everything from scratch unless you're building something wildly unique. Look for frameworks, assets, or other resources you can fit into your project with minimal tweaking.
When you boil down even the most ambitious ideas into a handful of actionable tasks and build on top of what's available in the market, you'll be amazed at how much you can get done in a week or two.
In a couple of weeks, Nathan Baschez built the first usable prototype of Lex, an AI writing tool, using tools from OpenAI.
What are you building?
Liked this post? You'll love the Hulry newsletter:


