We come across good ideas and handy resources at the most unexpected moments.
Be it those "aha" moments while you're sitting down sipping your morning tea or taking a walk around your neighbourhood.
Or those handy articles and webpage link a friend shared out of the blue.
And here's the thing:
Without a system to preserve them for the right time, they will vanish out of our reach as fast as they came.
There were countless times when I had some ideas while pacing around the house or before bed that I forgot to collect, and they disappeared forever.
Your brain is being blasted with an unimaginable amount of information every second.
You can't expect it to remember every little thing you come across.
So:
To ensure that you're not missing out on these helpful ideas and resources, you need to have a system that you can quickly access and rely on.
In this blog post, I'll show you some easy approaches to saving ideas and resources I've been using for years and how you can make them a part of your life.
Let's start with:
The ground rules
For a capture system to be effective, it needs to be present on every device you use.
That means we must rely on software available on all major platforms — phones, tablets and desktops.
Because:
Ideas and resources come and go anytime.
And at those times, your system needs to be ready to capture any resources you think would be helpful to your life or work.
This is important to remember because you might be comfortable with a different set of apps than what I'll show in this blog post.
So:
You can extract the essence of the techniques I'll be talking about and apply them to whatever tools work best for you.
With that said, let's move on to the first capture technique:
Using your messaging app
Most messaging apps, including iMessage, WhatsApp, Signal, Telegram, and Slack, allow sending direct messages to yourself.
You can use this functionality to create a private space to store notes, links, images, videos, and more.
Here's how to do it:
The next time you come across an idea, send a direct message to yourself like this:
Found an interesting blog post? Send it to yourself:
Keeping a voice note for later?
You don't have to use a separate voice notes app.
Record and send a voice note to yourself using your messaging app:
Came across a design or some photo that might serve as an inspiration for home decor, mood boards, design projects or something else?
Save that photo by sending it to yourself with a note:

And this technique extends to other resources like documents, locations and more.
It's simple yet effective.
But:
How do you choose a messaging app that'll serve you well for this purpose?
Here's how:
Take stock of all the devices you work with daily and which platforms they use.
For example:
I use Apple devices for everyday work — iPhone, iPad and MacBook.
So, choosing iMessage as the messaging app for this purpose is a fantastic option.
It has options to send all forms of resources via chat that I need to collect and is deeply integrated into the Apple ecosystem.
But, if you use cross-platform devices like Android, Linux, Windows and more, choosing a diversely available messaging app like WhatsApp or Telegram makes more sense.
These apps are available on all major platforms and support sending rich media on chats.
Then:
Once you've picked the messaging app of your choice, here's how to kickstart the process:
Start a new chat with yourself.
On the Messages app, here's how I did it:

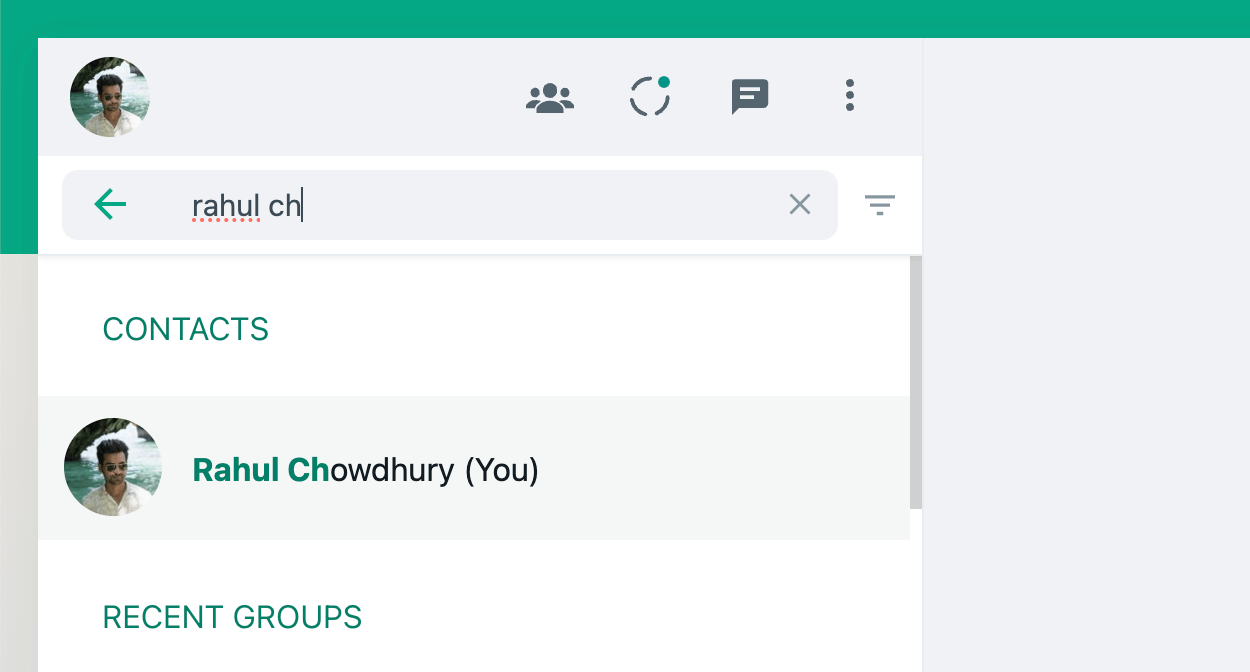
But, the process is similar on other apps, such as WhatsApp:
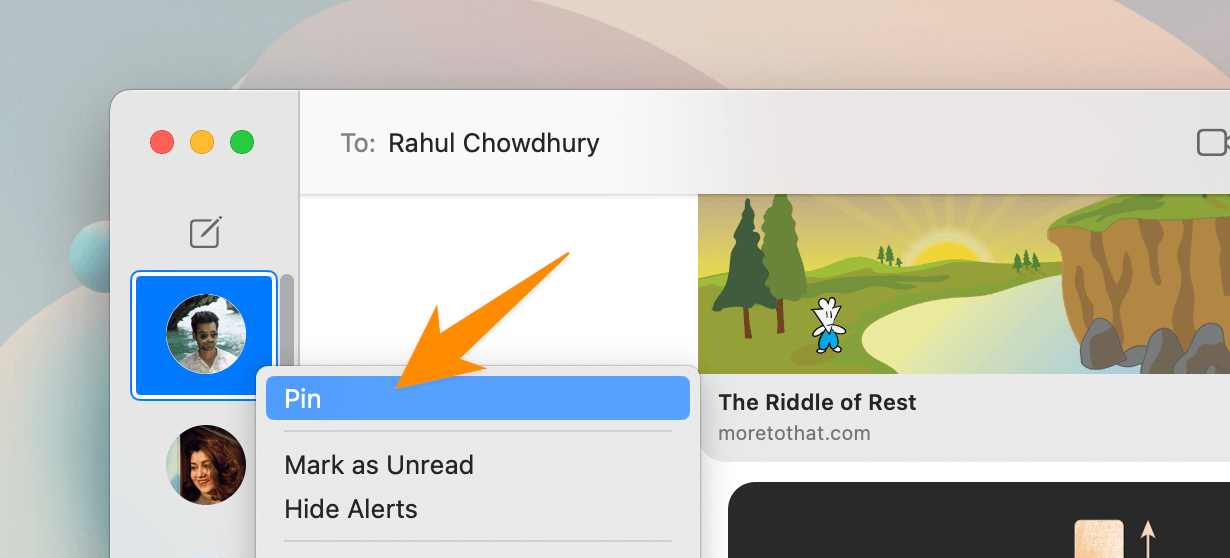
And, once you have a chat going, you can pin it to the top for easy access anytime you want to save something:
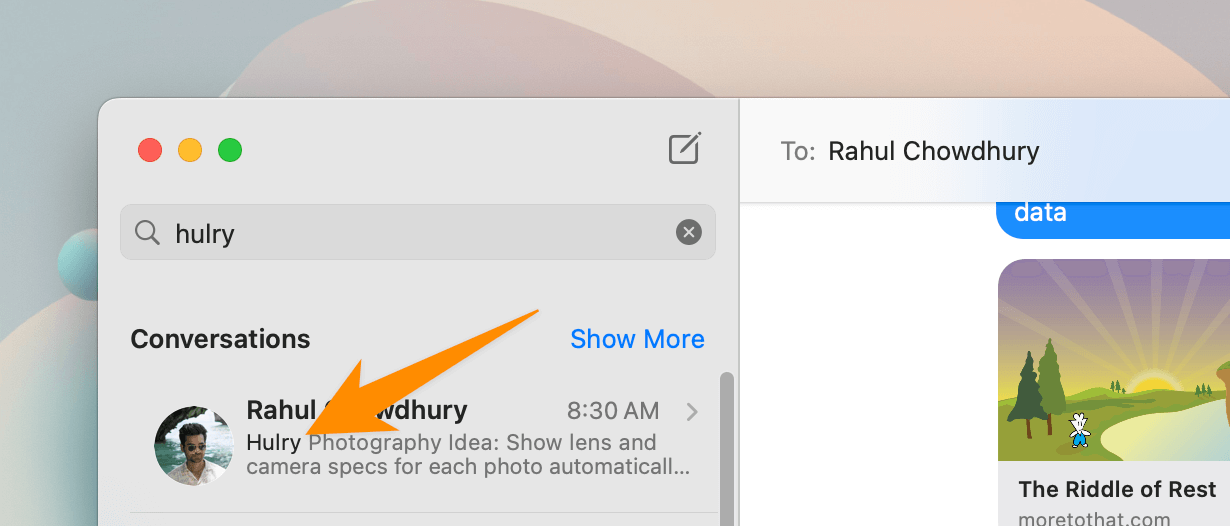
To find any resource or notes quickly, you can use the messaging app's search functionality, like this:
Now:
While this is a straightforward and easily accessible option for most situations, there's one caveat.
Once you start filling in notes and resources in your chat, it can get messy and unorganised quickly.
Since there are no tagging or organising functionalities in a private chat, finding something can be challenging if you don't know what to search for precisely.
For example:
I might want to look at all the car photos I've gathered with or without notes over time.
Without tagging or folders for organising, it becomes a tedious job to go through every message and find the ones I want.
So:
Building on this idea of collecting resources, here's a second approach that works better:
Using your todo app
No matter which one you use, a todo app offers more organisation ways than a regular messaging app.
You can have separate projects, tags, sections and more.
This makes collecting and simultaneously organising resources easier and less of a hassle.
Here's how to do it:
The easiest way to collect ideas and resources on a todo app is to save everything in your inbox.
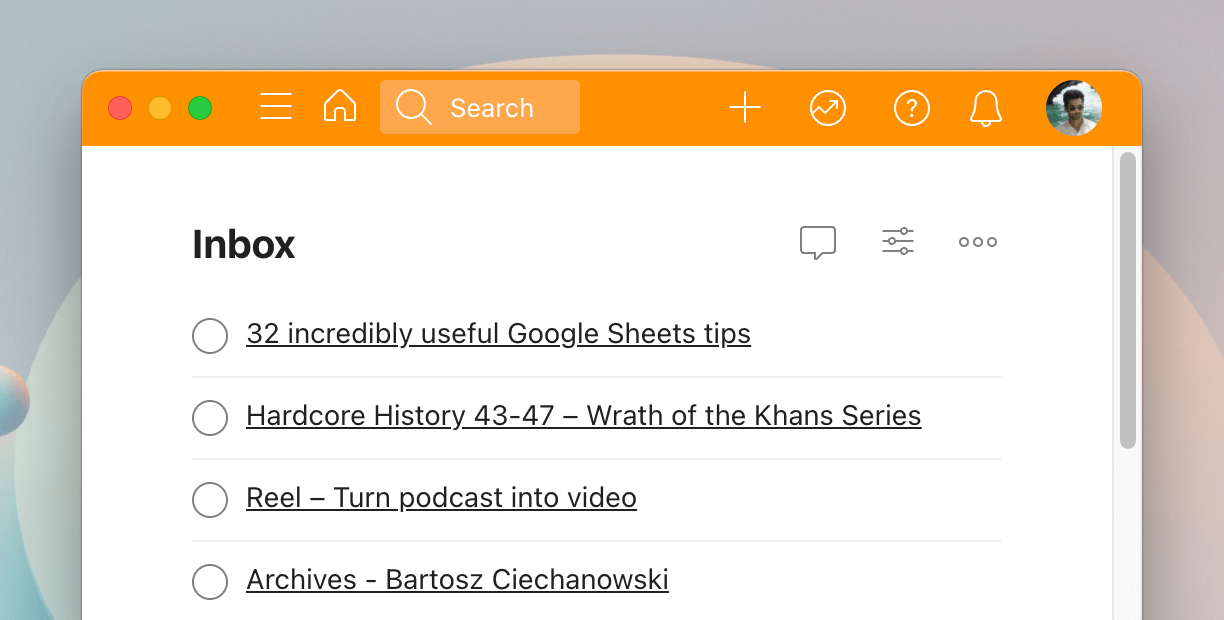
Popular todo apps like Todoist, Things, and TickTick, all have a dedicated space called Inbox where you can store anything you don't want to categorise immediately:
However:
That brings us to the same organisational bottleneck.
As you start piling up new items in your todo inbox, it becomes messy and hard to comprehend.
So:
A better approach is to create a few projects for your most used categories, like this:
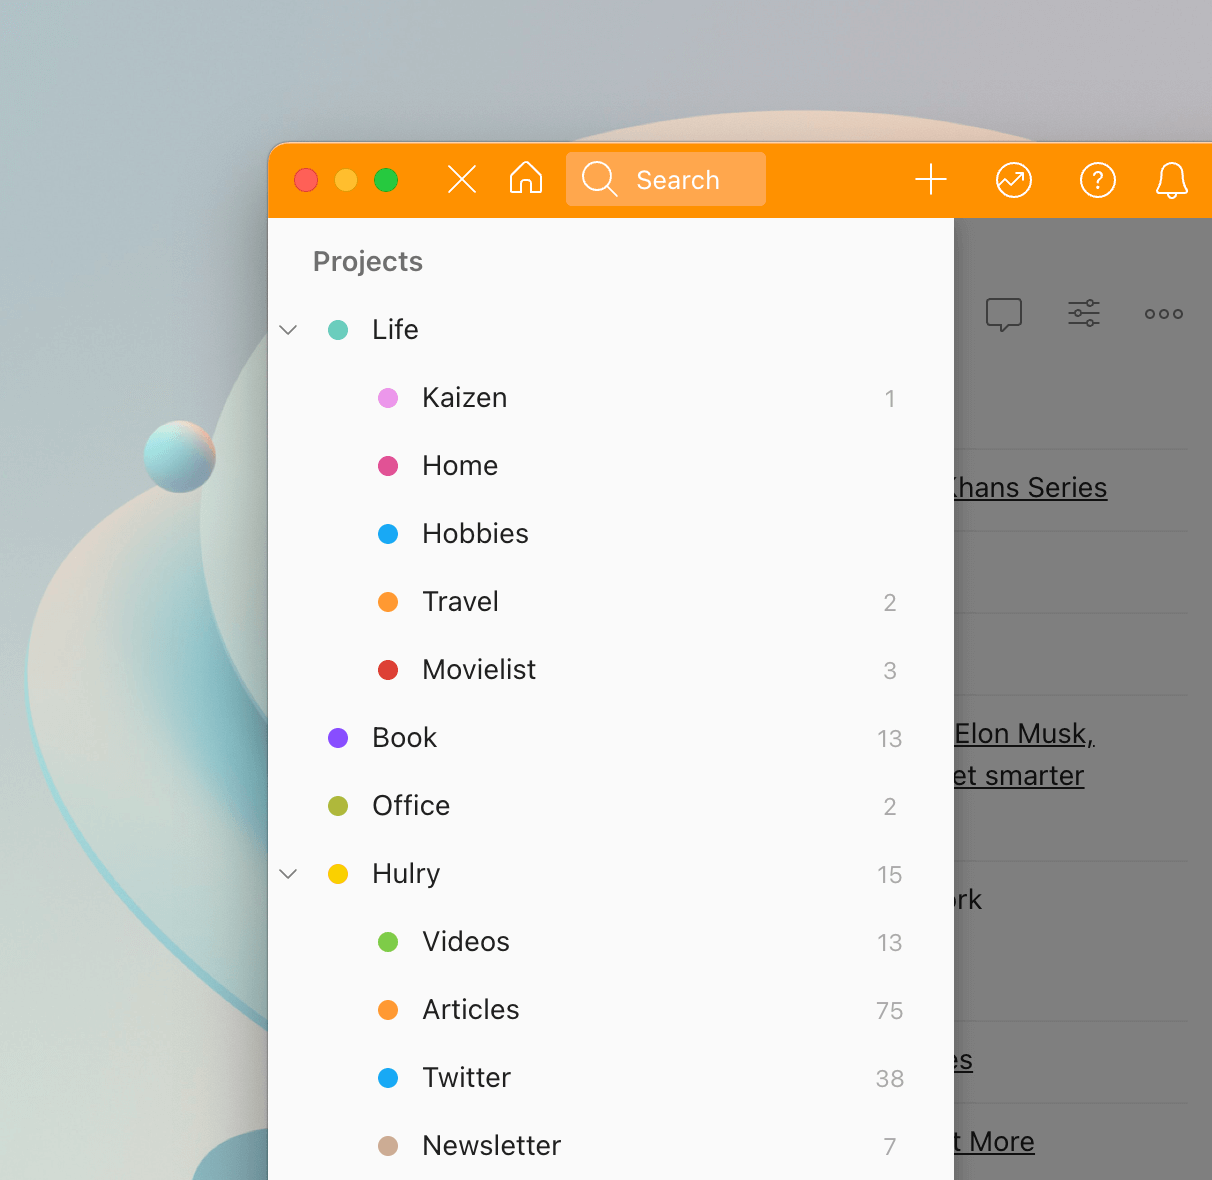
For example:
I get my blog post and video ideas randomly throughout the day.
And to ensure that I don't miss out on any potentially fruitful ideas, I've created a couple of projects like Articles in Todoist to help me save those ideas for later:
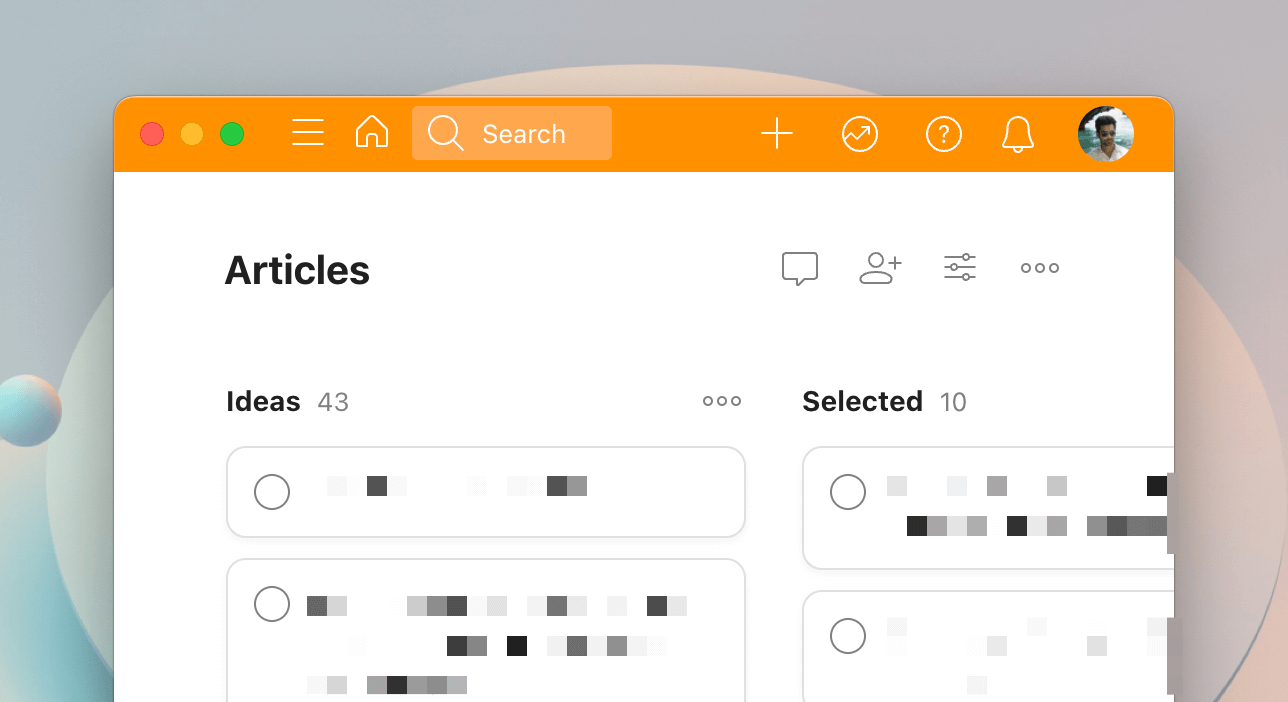
On the Articles project, I have a column called Ideas where I jot down any new article idea that comes to mind.
It doesn't have to be super detailed. Neither does it have to be an article that I'll definitely write about.
Here's how it works:
New article idea?
Add to the Ideas section of the Articles project.
Then, when I'm looking for the next thing to write about, I return to this project and look at what I've collected so far.
This gives me a great starting point and a plethora of choices to pick from.
I don't have to spend my brainpower to come up with ideas on the spot every time I want to write about something.
You can create similar projects for anything and everything.
From home design to movies wishlist, song recommendations to books, and many more.
To find something you've saved, browse through your projects or use the todo app's search feature.
Now:
Although your todo app might offer easy ways to choose projects while adding a task, as Todoist does with its natural language input, the process might still be tedious.
Every time you encounter something you want to save for later, you have to open the todo app, navigate to a project and save what you wanted.
To make this less of a hassle, you can:
Set up shortcuts on macOS and iOS
If you use macOS or iOS for your daily work and other activities, you can leverage the Shortcuts app to make the collection process more accessible.
Since I collect a ton of apps and articles for the Friday newsletter, I have set up a couple of shortcuts like this:
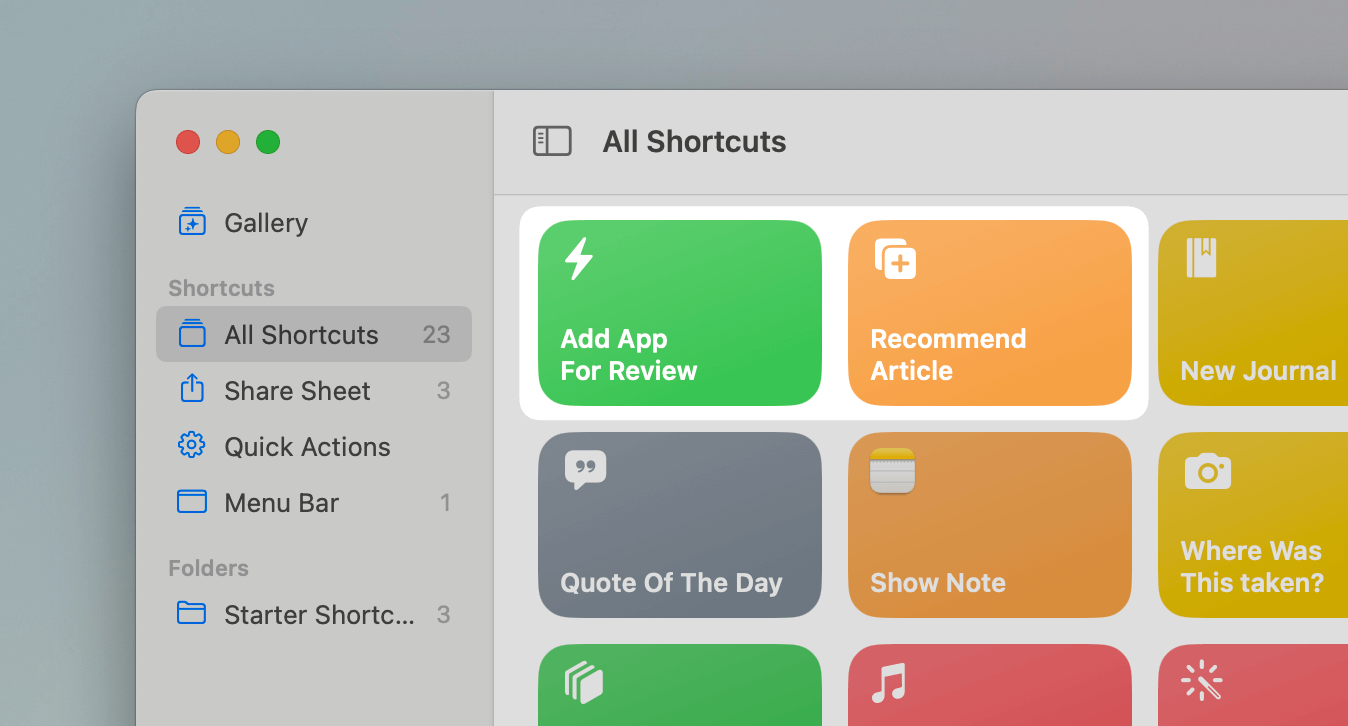
If you take the Add App for Review shortcut as an example, here's how it works:
- Takes the webpage URL as input from the share sheet
- Cleans up any additional marketing UTM parameters from the URL
- Adds the URL as a task in my Todoist Inbox under a specific section called Apps to Review
This is what the section looks like:
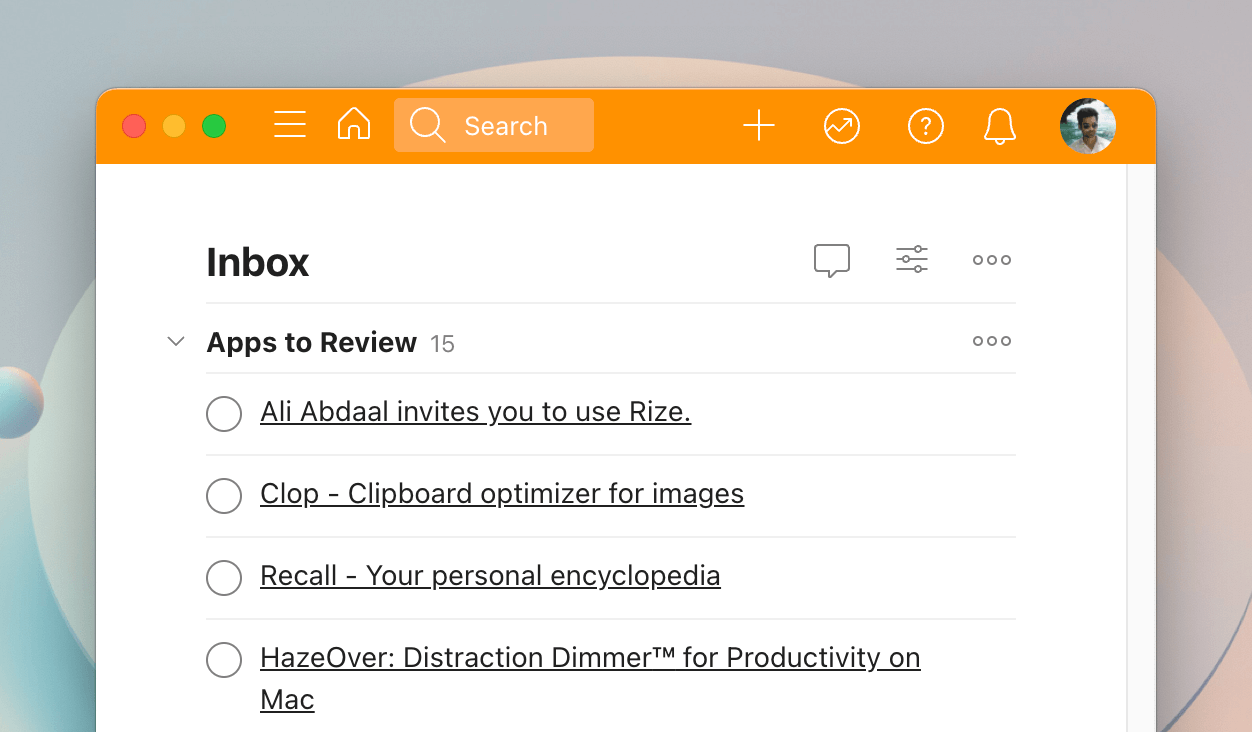
So, whenever I discover a new app I want to review later for the newsletter or personal use, I tap the share icon on Safari and run this shortcut.
This quick action queues the app into a neat list I can review later.
Now:
Inbox is not the only place you can add tasks using shortcuts.
For example, take a look at this shortcut:
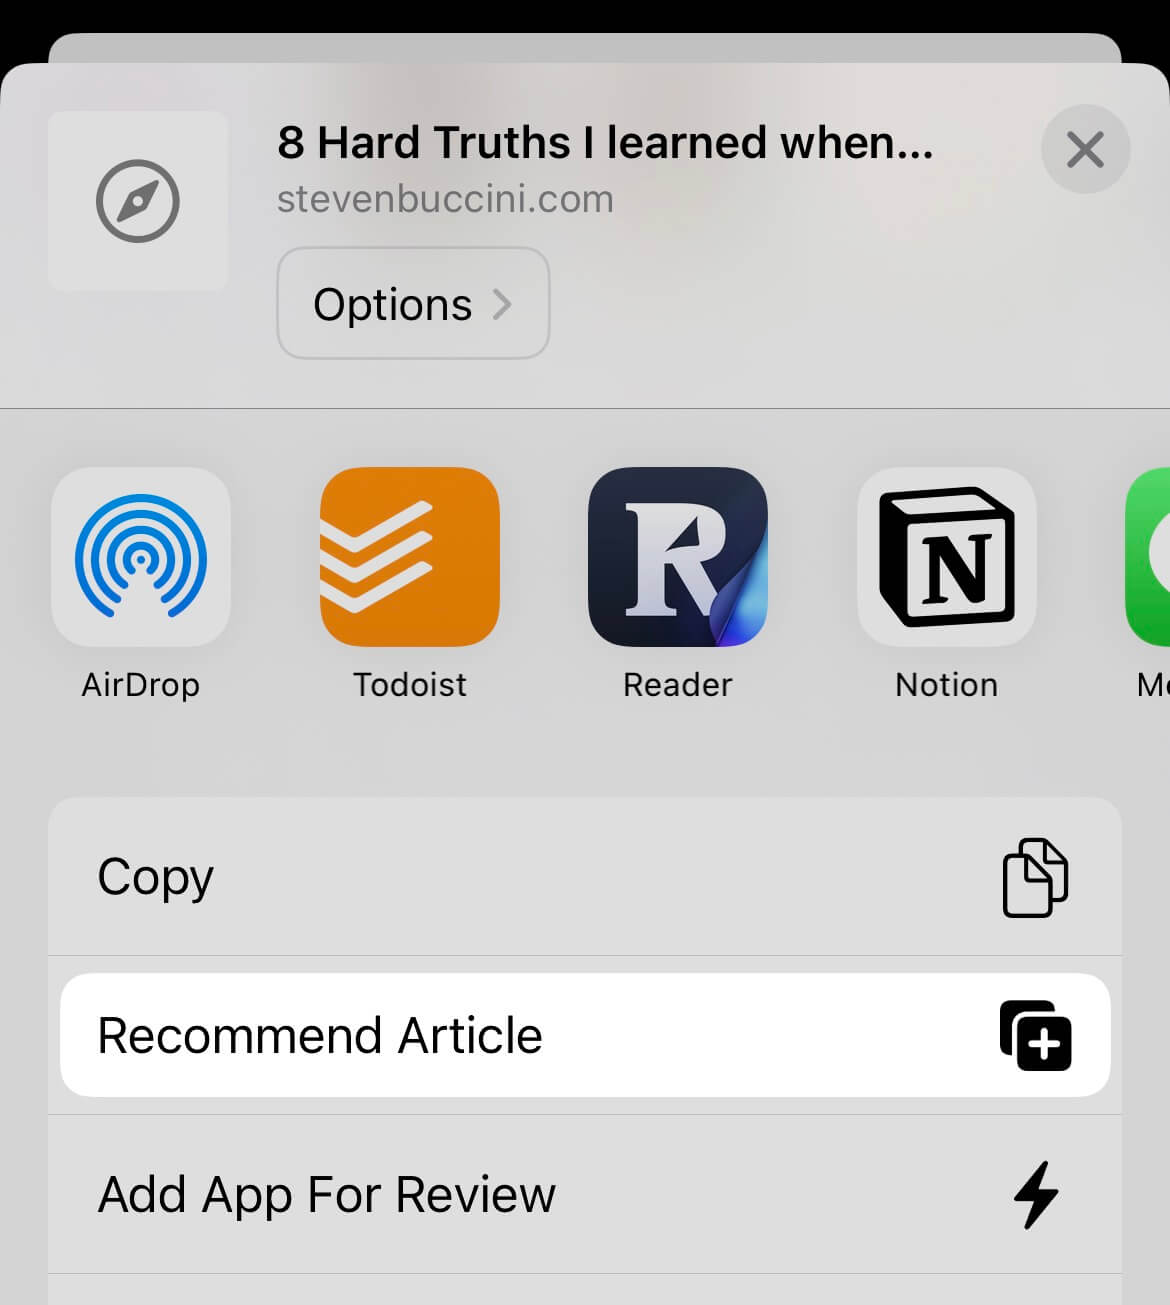
When I like a blog post that I want to recommend in my newsletter, I run this shortcut from Safari's share sheet, and it does the following things:
- Takes the webpage URL as input from the share sheet
- Adds the URL as a task under a project called Newsletter, further organised into a section called Articles
This helps me collect fantastic articles as I read them throughout the week that I can quickly recommend in Friday's newsletter.
Pretty handy, right?
To help you get started with the Shortcuts iOS app, here's how you can create a shortcut that saves movie links from Safari to a Todoist project:
Open the Shortcuts app and create a new shortcut.
Tap on the info button over here to open the shortcut options:
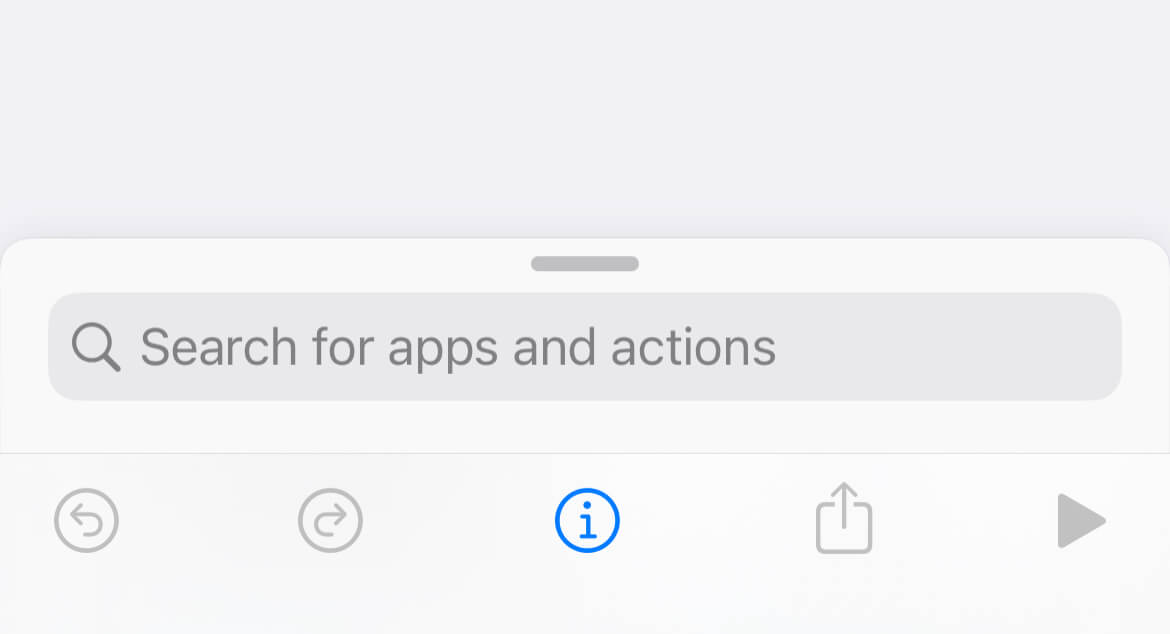
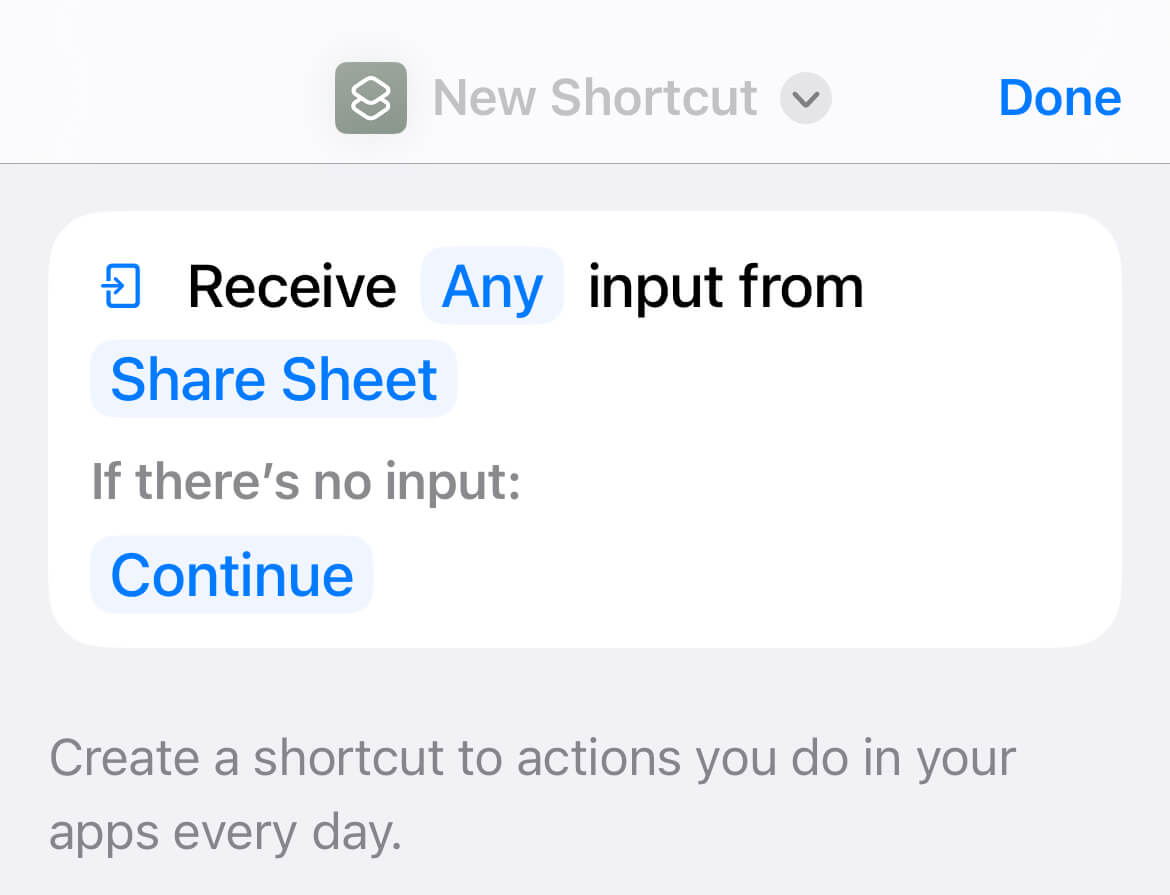
Turn on the Show in Share Sheet option.
This will automatically add an input action to your shortcut like this:
Add a new action to Create Task in Todoist:
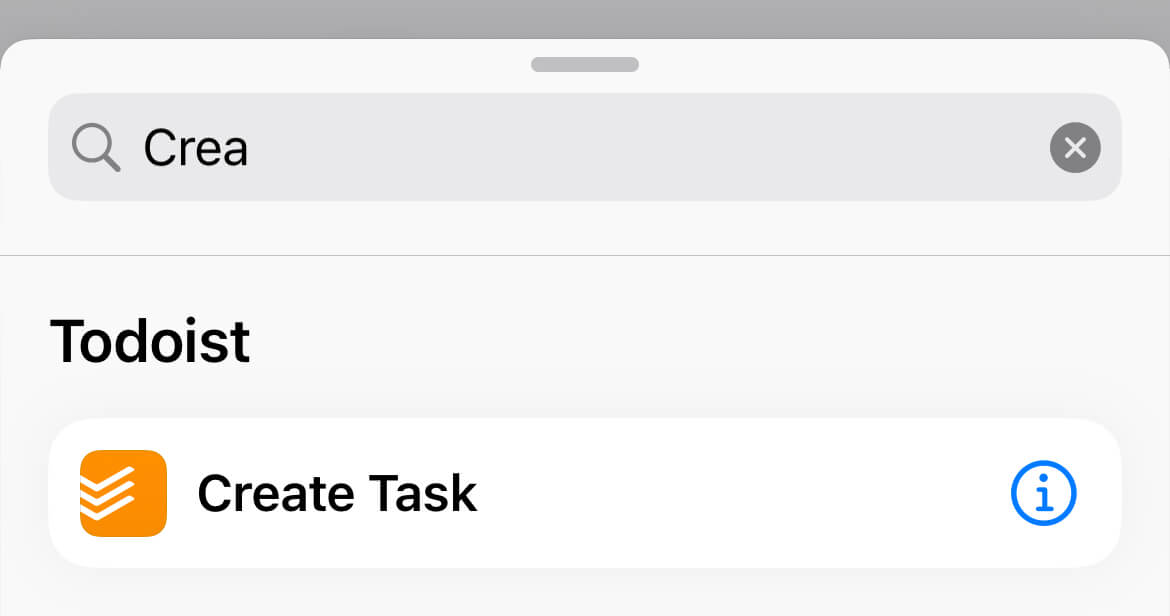
Choose the task name as your shortcut input:
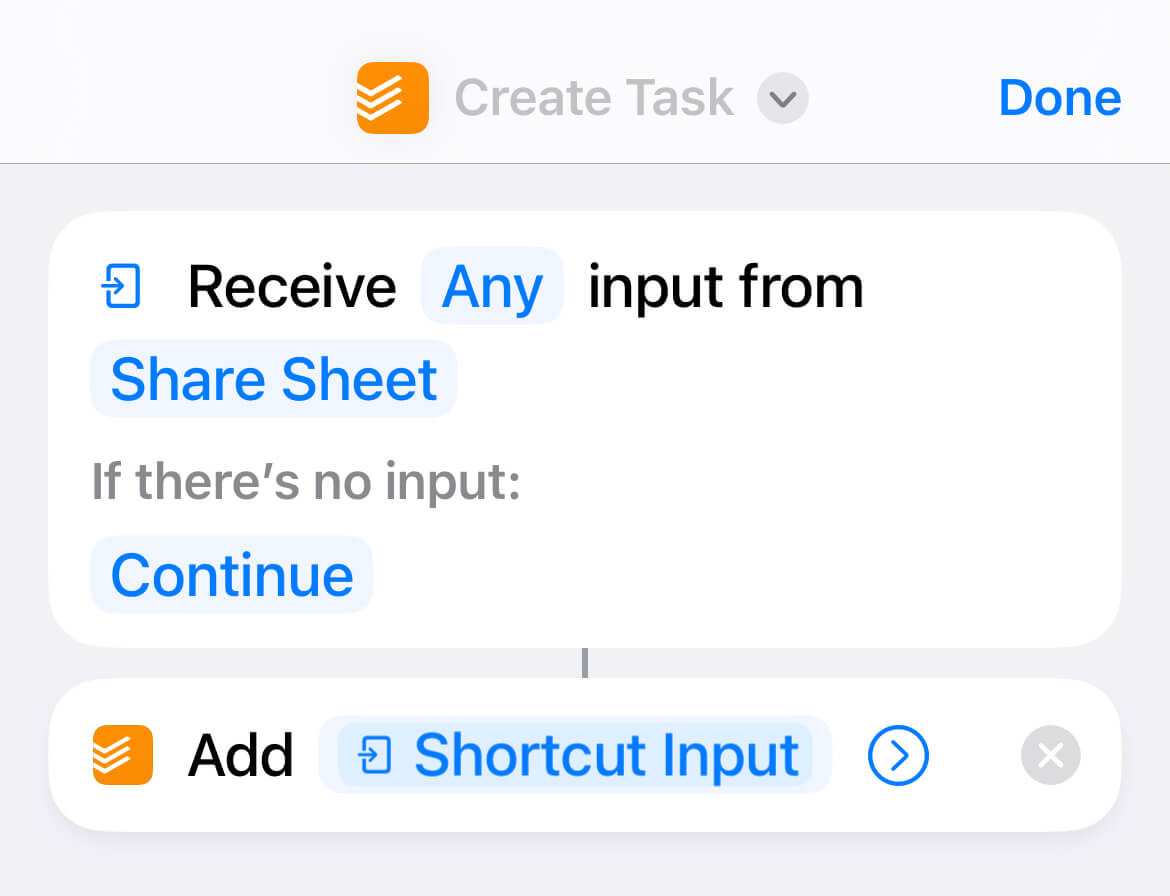
Tap the arrow button to expand the action options:
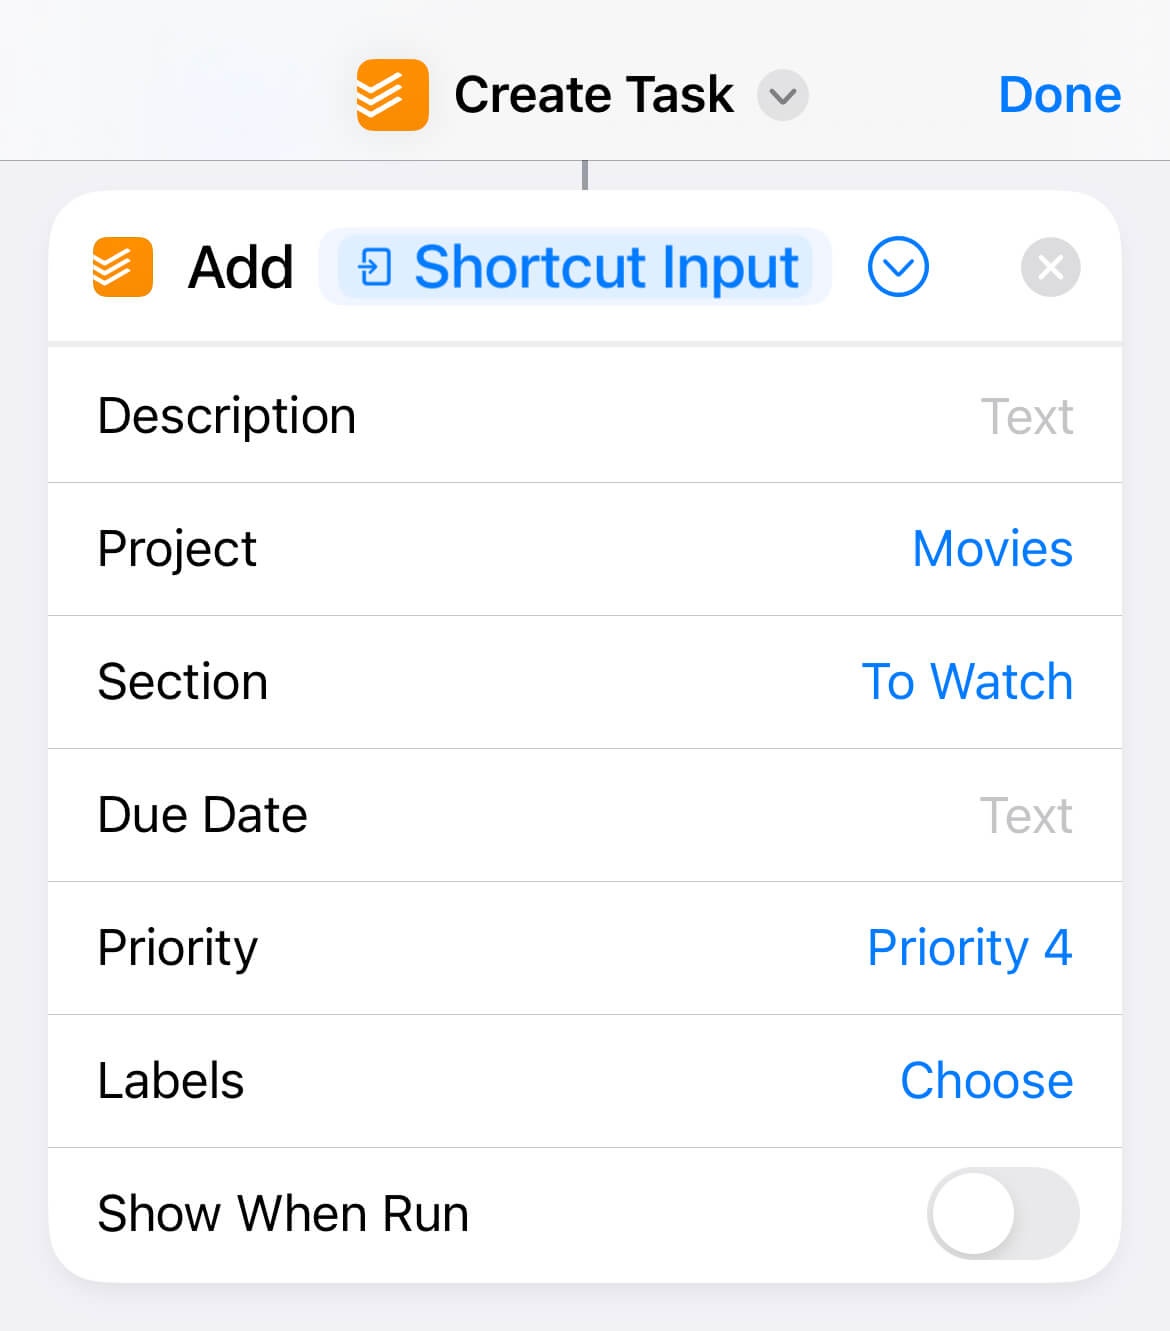
Here, you can choose which project and section you want to add your new task to.
For example, I've chosen the project as Movies, and the section as To Watch.
You can switch off the toggle Show When Run to stop the shortcut from opening Todoist every time you run it.
Give your shortcut a name, save it, and you're done.
Now:
The next time you're browsing the web and need to save a movie to watch, tap on the share button on Safari and scroll to choose your shortcut from the options list:
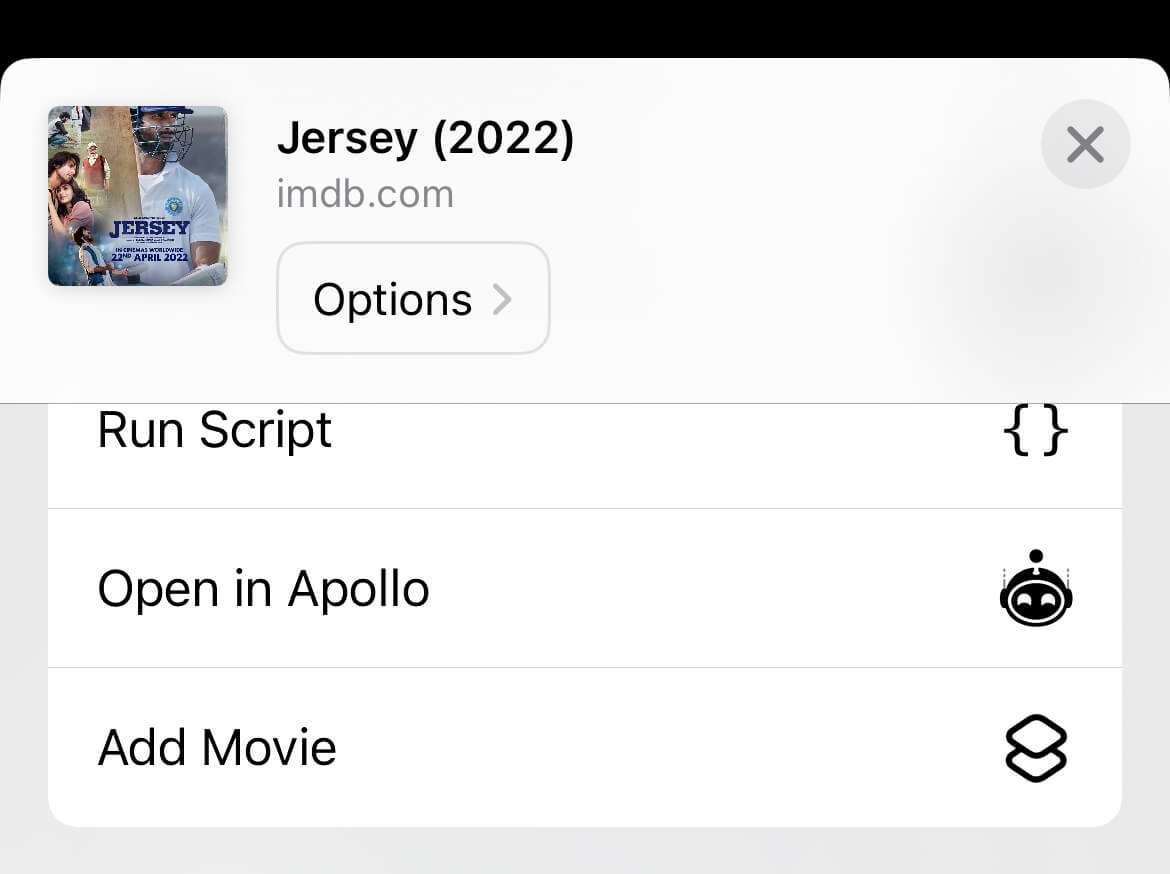
You can also edit your share actions to add your new shortcut to Favourites for easy access:
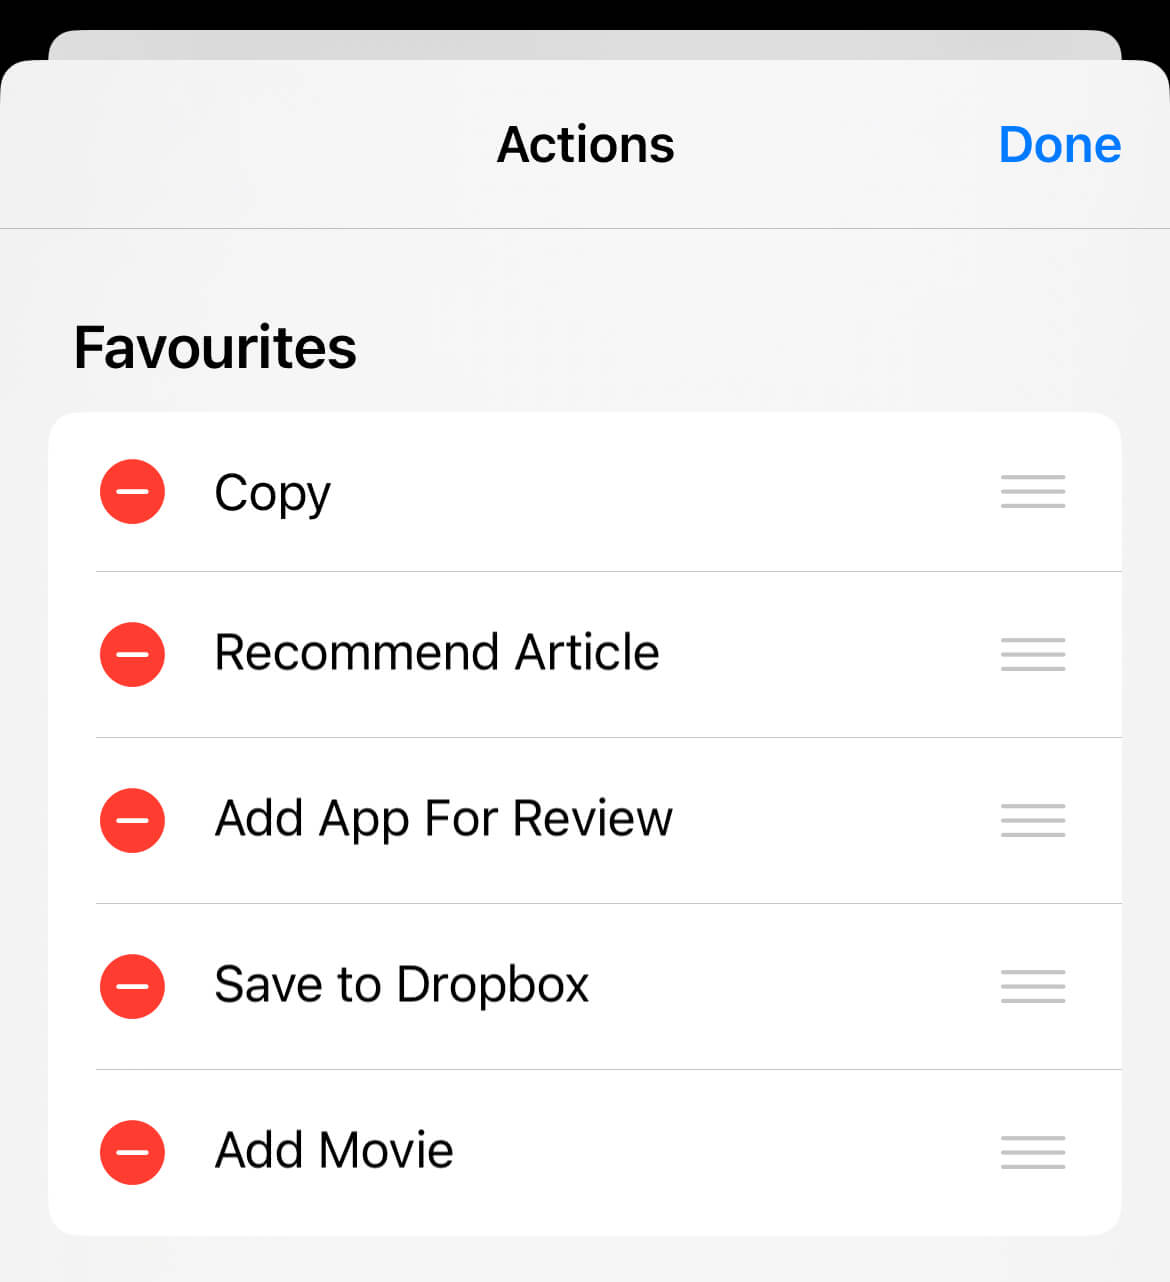
This is how I've been collecting new apps for review and articles to recommend for months now.
And it has been incredibly time-saving.
Now:
When it comes to collecting resources and ideas, hoarding can become a challenge.
Digital clutter, unlike physical ones on your desk, is less obvious.
Remember this quote from Peter Welsh:
Clutter is not just the stuff on your floor – it’s anything that stands between you and the life you want to be living.
With ample cloud and local storage on our devices, you might have tons of digital goods tucked away in a folder you never open.
So, to counter this issue, it's good to:
Have a regular consumption process
What's the use of storing helpful resources or ideas if you don't act on them?
You can jot a million ideas or bookmark thousands of resources, but unless you revisit them and apply them in your work or life, they're as good as useless clutter.
So:
Set up opportunities every week to go through the list of things you've collected and see if you can use anything from the list.
Here's how I do it:
For the apps and articles I add to my list, I review them every week or two as part of the curation process of the Hulry newsletter.
This helps me come up with excellent tools and resources to recommend to the subscribers of the Hulry newsletter regularly.
And with ample options to choose from, I don't have to scramble and choose low-quality recommendations for my subscribers.
Now:
I don't have a similar schedule for the various blog posts and video ideas.
But the first thing I do before deciding what to write or record next is going through the list of topic ideas I've noted.
This gives me a pool of ideas to choose from, and I can work on something I feel like writing.
Without this process, I would've wasted hours every week coming up with what content to produce next on the various Hulry channels.
But:
If you don't have an ongoing project or agenda, you can block 30 minutes weekly to casually browse what you've saved to date.
This becomes a fantastic playground for coming up with new ideas, personal or at work.
For example, I often get design ideas by casually browsing the design inspirations I've saved on a list.
So:
Leverage the techniques you learned in this blog post to efficiently capture helpful resources and establish a process to review them periodically.
This will create a constructive learning or action loop that'll help you improve in every area of your life.
Try it.
Start with the trivial approach — sending yourself links and ideas via your messaging app.


 In-depth articles, series and guides
